
Identifying the Problem: Loose or Broken Buckle
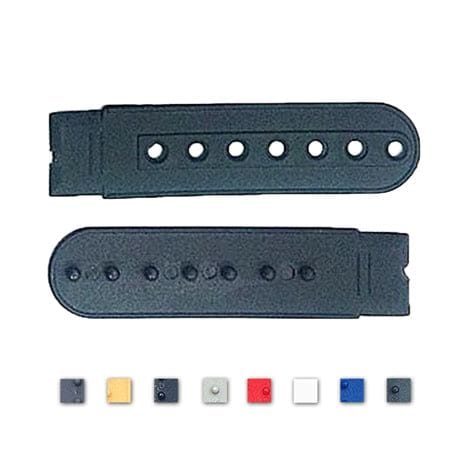
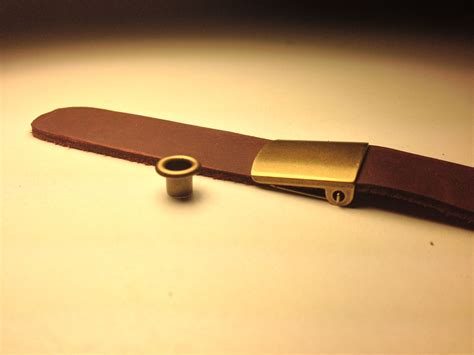
One of the common problems with a hat is a loose or broken buckle. A hat buckle is a piece of hardware, commonly made of metal, plastic, or leather, that is used to adjust the size of the hat. The buckle is held in place by a rivet or screw, which can become loose over time or break due to excessive force or wear and tear.
If you have a loose or broken buckle on your hat, you will notice that the hat fits poorly and does not sit comfortably on your head. The hat may slide down over your eyes or feel too tight around your forehead. In some cases, the buckle may detach from the hat completely, leaving you with a hat that is impossible to wear.
Identifying whether your hat buckle is loose or broken is the first step in fixing the problem. Here’s what you need to do:
Contents
Step 1: Check the Buckle
Take a close look at the buckle on your hat and examine it for any signs of damage or wear and tear. If the buckle looks bent, cracked, or warped, it is likely broken and will need to be replaced. If the buckle appears fine, try pulling on it gently to see if it moves or wobbles. If it does, the buckle is loose and needs to be tightened.
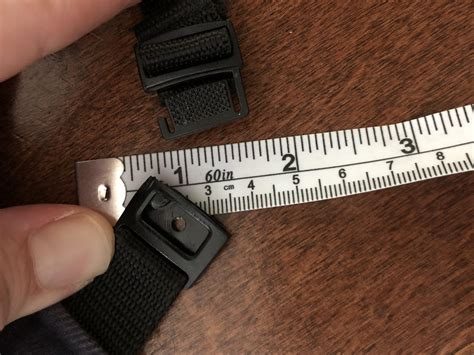
Step 2: Check the Rivet or Screw
The buckle on your hat is held in place by a rivet or screw, which can become loose over time. Use a screwdriver or pliers to tighten the rivet or screw and see if the buckle becomes more secure. If the rivet or screw is stripped or damaged, it will need to be replaced.
Step 3: Try Replacing the Buckle
If the buckle on your hat is broken or cannot be tightened, it may be time to replace it. You can purchase replacement buckles at a craft store, online, or from a hat retailer. To replace the buckle, remove the old buckle from the hat using pliers or a screwdriver and attach the new one using a rivet or screw.
Fixing a loose or broken buckle on your hat is a simple process that can save you money and extend the life of your hat. By identifying the problem and taking the appropriate steps to fix it, you can ensure that your hat fits comfortably and looks great for years to come.
Tools and Materials Required for Repair
Repairing a hat buckle can be a simple job that anyone can do with the right tools and materials. In this section, we will take a look at the essential tools and materials required for the repair job.
Here’s a list of things you will need:
Tools:
- Screwdriver: A small flathead screwdriver is necessary to remove the screws from the buckle.
- Hammer: You can use a hammer to lightly tap the prongs of the buckle to tighten them up.
- Pliers: Pliers come in handy if you need to reshape the buckle or if you need to adjust the prongs.
- Scissors: Scissors will be required if you need to cut a new leather strip for the buckle.
Materials:
- Leather strips: If the leather strap of the buckle is broken, you may need to cut a new strip of leather to replace it.
- Replacement screws: You will need to have a set of small replacement screws that fit the buckle.
- Super Glue: In case the buckle’s prongs are completely broken, you can use super glue to attach them back to the buckle.
- Needle and thread: You will need a needle and thread if you need to sew a new leather strip onto the buckle.
Before you start the repair job, ensure that you have all the necessary tools and materials to repair the hat buckle.
Having all the right tools and materials will make the repair job much easier and faster. If you don’t have all the required materials or tools, it’s easy to buy them from your local hardware store or online.
Although, if you’re unable to do the repair it’s best to consult a professional to avoid further damage to your hat or buckle.
Step-by-Step Guide to Fixing a Hat Buckle
Fixing a hat buckle is a simple task that can save you money and avoid throwing away your favorite hat. It is a DIY project that you can handle with simple tools and a little bit of patience. In this guide, we will take you through the steps to fix a hat buckle.
Step 1: Gather Your Tools
The first step to fixing your hat buckle is to gather all the necessary tools. These tools may vary depending on what you intend to use to fix the buckle, but in most cases, the following items should be enough to get the job done:
- A small screwdriver or pliers
- A needle and thread
- A new hat buckle if the old one is damaged beyond repair
Step 2: Remove the Damaged Buckle
Next, you will need to remove the damaged buckle. You can do this by using a small screwdriver or pliers to loosen the screws that are holding the buckle in place. Once the screws are loose, remove the buckle from the hat and keep the screws aside in case you will need them later.
Step 3: Sew the New Buckle in Place
Now that you have removed the broken buckle, it is time to sew the new buckle in place. Start by threading your needle and tying a knot at the end of the thread. Then, carefully align the new buckle with the holes from the old one and start sewing through them. Be sure to sew through each hole twice to ensure the buckle is securely attached.
If the holes from the old buckle are too big for the needle and thread to go through, you can create new holes by using an awl, a pointed tool that creates small holes. Simply push the awl through the hat where you want to create a new hole and make the hole big enough to fit the needle and thread.
Continue sewing through the buckle and hat until all the holes are sewn. Once you finish sewing, tie a knot at the back of the hat to secure the thread and cut off the excess.
Step 4: Tighten the Screws
Once you have sewn the new buckle in place, use the screws you kept aside in step 2 to tighten the new buckle securely. Using a small screwdriver or pliers, carefully tighten each screw until the buckle is secure. Be careful not to overtighten as this may damage the hat.
Voila! Your hat buckle is now fixed and ready to be worn again. It is important to take good care of your hat to prevent damage to the buckle or other parts of the hat. You can do this by storing your hat properly, cleaning it regularly, and protecting it from harsh weather conditions.
Fixing a hat buckle is a simple task that can be done by anyone. With the right tools and a little bit of patience, you can give your favorite hat a new lease of life. If you encounter any challenges while fixing your hat buckle, you can always seek professional help or consult online guides for more tips and tricks.
Tips and Tricks for Maintaining Hat Buckles

Maintaining hat buckles is important to ensure the durability and elegance of your headwear. You can keep your hat buckles in good condition by following these tips and tricks:
1. Remove Dirt and Dust Regularly
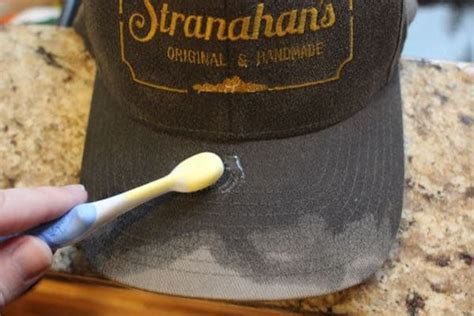
The most important way to maintain hat buckles is to clean them regularly. Dirt and dust buildup can harm the buckle’s appearance and cause damage. Therefore, you need to remove dust and dirt from the buckle and the belt or strap.
You can use a soft-bristled brush to brush dirt and dust off. If the dirt is stuck on the buckle, use a damp cloth or a soft-bristled brush with mild soap to wipe the buckle and the strap. Make sure you dry your belt and buckle properly to avoid water stains.
If your buckle is made of metal, use a specialized metal cleaning agent and a soft cloth to polish it. Never use an abrasive cleaner as it can damage the buckle’s surface.
2. Avoid Exposure to Water and Moisture
Leather and metal buckles are susceptible to water and moisture. It’s important to avoid exposing your buckle and strap to water and moisture to protect your hat’s appearance. If your buckle gets wet, dry it immediately to prevent water damages and stains.
Also, keep your hat and buckle in a dry and well-ventilated place to prevent moisture buildup, especially during the rainy season or humid weather. Excessive moisture can cause mold and mildew on your strap and buckle, leading to further damage and bad odor.
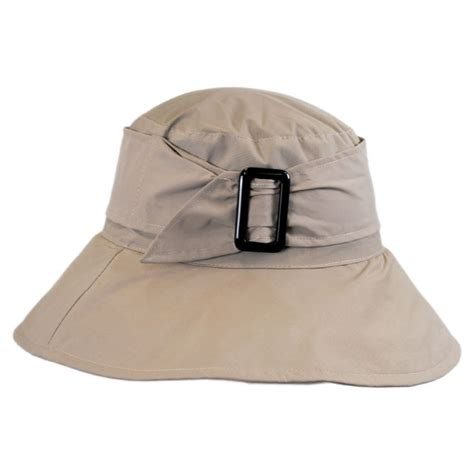
3. Store Your Hat and Buckle Properly
Proper storage is vital in maintaining the quality and longevity of your hat buckle. It’s best to keep your hat and buckle in a cool and dry place, away from direct sunlight and heat sources, such as windows or fireplaces.
You can store your hat on a hat stand or in a hatbox that fits the size of your headwear. Make sure you put your hat buckle in a separate compartment or a soft cloth bag to avoid scratches and damages. If you’re traveling, protect your hat buckle from impact and pressure by storing it in a hard container or a luggage bag.
4. How to Fix a Hat Buckle
Hat buckles can get damaged or broken over time, and sometimes you need to fix them to prevent further damage or to restore their functionality. Here’s how to fix a hat buckle:
Step 1: Remove the belt or strap from the buckle by unscrewing the screws or removing the pins that attach them.
Step 2: Clean and dry the buckle thoroughly before starting any repair.
Step 3: Examine the buckle and identify the broken or damaged part.
Step 4: If the problem is a loose or missing screw or pin, replace it with a new one of the same size and type. If the buckle is broken, you need to fix it using a metal adhesive or solder.
Step 5: Apply the adhesive or solder to the broken part of the buckle, and hold it in place until it sets.
Step 6: Reattach the strap or belt to the buckle and test the buckle’s functionality.
By following these tips and tricks for maintaining hat buckles, you can keep your headwear in good condition and enjoy its elegance for a long time. Remember to keep your buckle clean, dry, and in good storage to protect it from damages and maintain its beauty.
Common Mistakes to Avoid During the Repair Process
Repairing a hat buckle is a simple process that anyone can do at home, but there are a few common mistakes that can cause more harm than good. Below are the top five mistakes to avoid during the repair process:
1. Using the Wrong Tools
One of the most common mistakes when repairing a hat buckle is using the wrong tools. It is important to use the right tools to avoid damaging the buckle or the hat. For example, using pliers instead of a screwdriver can cause scratches or dents in the buckle, while using a flathead screwdriver instead of a Phillips screwdriver can strip the screws.
2. Not Cleaning the Buckle
Another mistake to avoid is not cleaning the buckle before attempting to repair it. Dirt, dust, and grime can accumulate on the buckle over time, making it difficult to repair. Before attempting to fix the buckle, be sure to clean it with a soft cloth and mild soap and water.
3. Over-Tightening the Screws
Over-tightening the screws is another common mistake that can cause damage to the buckle or hat. When tightening the screws, be sure to turn them until they are snug but not too tight. Over-tightening can cause the screws to strip or break, making the repair job even more difficult.
4. Using Super Glue
Using super glue to fix a buckle may seem like a quick fix, but it is not a good long-term solution. Super glue can cause damage to the buckle and hat, and it may not hold up over time. Instead of using super glue, it is better to fix the buckle properly with screws or a replacement buckle.
5. Ignoring Safety Precautions
When repairing a hat buckle, it is important to take safety precautions to avoid injury. Using pliers or a screwdriver improperly can cause cuts or other injuries. Always use the right tools for the job, and be sure to wear gloves and safety glasses to protect your hands and eyes.
By avoiding these common mistakes, you can successfully fix a hat buckle at home and keep your favorite hat looking great for years to come.