

Understanding the shower diverter gate
Have you ever stepped into the shower and realized that the water pressure coming from the showerhead is weaker than usual? Or worse, have you turned on the water only to realize that it’s not coming out from the showerhead at all? These problems can be caused by a defective shower diverter gate. The shower diverter gate is a valve that is responsible for directing the water flow from the bathtub spout to the showerhead, depending on what you need at the moment.
The shower diverter gate is made up of a gate that is attached to a knob or lever. The knob or lever is located on the bathtub spout or, in some cases, on the wall next to the shower. When you move the knob or lever, it moves the gate inside the diverter valve, which allows the water to flow in the desired direction. When the gate is open, water flows through the showerhead, and when it’s closed, water flows through the bathtub’s spout.
Apart from the gate and knob, the shower diverter gate also comprises of washers, springs, and other small components. Like all other valves in your home, the shower diverter gate may malfunction with time due to its constant use. The gate may become clogged with mineral deposits or debris, the washers may wear out, or the valve body may develop cracks or warps, causing the water to leak.
Knowing how to fix a shower diverter gate is essential because it saves you from buying a new fixture and the related installation costs. In the next few sections, we’ll cover basic steps to help you troubleshoot and fix your shower diverter gate with ease.
Tools Needed for Fixing the Shower Diverter Gate
Fixing a shower diverter gate requires some tools to make the task efficient and easy. Before you start the repair process, you need to ensure that you have the necessary tools ready. Here are some of the tools required:
Contents
- 1 1. Wrench
- 2 2. Screwdriver
- 3 3. Needle-Nose Pliers
- 4 4. Plumber’s Tape
- 5 5. Replacement Parts
- 6 6. Cleaning Solution
- 7 1. When Water Flow is Low
- 8 2. When You Hear Strange Noises
- 9 3. When the Shower Diverter is Stuck
- 10 4. Water Dripping from the Showerhead Even When Turned Off
- 11 5. You Don’t Have Any Plumbing Experience
1. Wrench
A wrench is an essential tool for fixing a shower diverter gate. You will need a wrench to remove the showerhead or spout from the wall. Ensure that you get an adjustable wrench that will fit your showerhead or spout. The wrench will help you tighten any loose connections in the shower diverter.
2. Screwdriver
A screwdriver is another essential tool that you need to fix a shower diverter gate. You will need it to pry off the handle from the diverter valve. A flathead screwdriver is ideal for this task since it can easily fit into the small gap between the handle and the valve. Once you remove the handle, you can access the diverter valve and inspect it for any damages.
3. Needle-Nose Pliers
You will require a pair of needle-nose pliers to remove the valve from the showerhead. They will help you grip the valve securely, preventing it from slipping from your hand. The pliers will come in handy when detaching the valve from the water pipe.
4. Plumber’s Tape
You will need plumber’s tape to wrap around the threads of the showerhead or spout. Plumber’s tape helps to create a tight seal and prevent water leaks. It is essential to apply the tape correctly to avoid excessive dripping of water from the showerhead or spout.
5. Replacement Parts
You might require replacement parts if the shower diverter gate is damaged beyond repair. You might need to buy a new shower diverter or other parts such as replacement washers. Ensure that you get the correct parts that match the make and model of your shower diverter gate.
6. Cleaning Solution
A cleaning solution will come in handy when cleaning the showerhead or spout. You might notice some dirt or mineral buildup that might need cleaning. Ensure that you get a cleaning solution that is safe for cleaning bathroom fixtures.
It is important to have all the tools and equipment ready before starting the repair process. This will ensure that you complete the task successfully and efficiently. Most of these tools can be found at any hardware store or online retail stores. You can also borrow some of the tools from a friend or family member if you do not have them.
Step-by-step guide to fixing the shower diverter gate
If you’re experiencing problems with your shower diverter gate, your first port of call is to consult your user manual or contact a plumber. However, if you are set on fixing it yourself, here is a step-by-step guide to help you along the way:
Step 1: Identify the type of diverter valve
The first step in fixing your shower diverter gate is to identify the kind of valve you have. There are three types of shower diverter valves: the tee valve diverter (the most common type), gate diverter, and lift and turn diverter. The tee valve diverter can be recognized by its lever that you pull up and twist to send water to the showerhead. If you have a gate diverter, you will see a small knob on the tub spout that you pull up to divert water flow. With the lift and turn diverter, you’ll see a metal disk on the tub spout that you turn to divert water. Knowing which valve you have will help you to identify which parts need to be replaced and how to fix it.
Step 2: Turn off the water supply
Shut off the water supply to your shower If you have an access panel that lets you turn off water to the shower. If there is no access panel, shut off the water to the entire house to avoid any accidents that may occur.
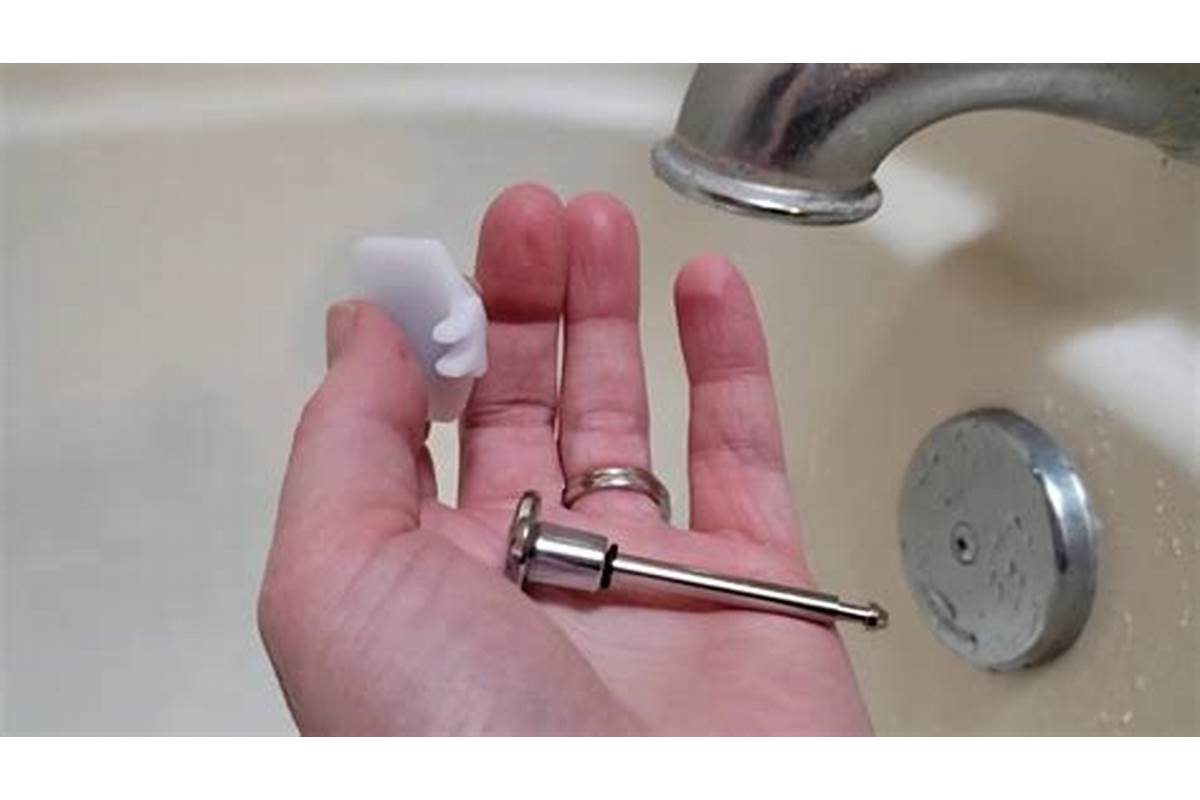
Step 3: Dismantle the diverter
Use a screwdriver or pliers to remove the faucet handle and escutcheon (the decorative plate covering the valve) from the valve body. If you have a gate diverter, unscrew the knob to reveal the threaded spindle. Remove the spindle, then remove the end cap, spring, and washer. If you have a tee valve diverter, turn off water supply valves to the showerhead and tub spout, then remove the adapter by using pliers.
Step 4: Replace faulty parts
If your shower diverter gate is not working properly, it could be due to a faulty part. Check for damage or wear to the O-rings, washers, and seals. If you find any damaged parts, replace them with new ones.
Step 5: Reassemble the diverter
Once you have replaced any faulty parts, reassemble the diverter in the reverse order you took it apart. Be sure to use plumber’s grease on any O-rings or washers to prevent leaks. Tighten the spindle on a gate valve diverter with pliers.
Step 6: Test your shower
Turn on the water supply and test your shower to verify that the diverter is working as it should. If there are any leaks or issues still present, double check the assembly to make sure everything is correctly in place. In some cases, valve replacement may be necessary.
By following these six easy steps, you will be able to fix your shower diverter gate and get your shower working as it should. If you are unsure about any of the steps, or if your shower diverter gate is still not working after attempting these steps, it is important to contact a professional plumber for further assistance.
Tips for Maintaining the Shower Diverter Gate
Shower diverter gates are an essential part of bathroom fixtures that must be kept in good condition to prevent water wastage, mould growth and leaks. Proper maintenance is required to ensure that the shower diverter gate works efficiently and lasts long. Here are a few tips on how to maintain the shower diverter gate:
Deep cleaning the diverter gate
Over time, shower diverter gates may become clogged with debris and hard water minerals. To address this issue, it’s necessary to deep clean the gate. Remove the diverter stem, and using a soft-bristle brush, scrub the gate thoroughly with a mixture of water and vinegar. Avoid using abrasive materials, as they can damage the surface of the shower diverter gate.
Replacing the washer
If your shower diverter gate is leaking, the washer is most likely damaged. To fix this problem, you will need to replace the rubber washer. First, turn off the water supply to the shower. Then remove the handles and escutcheon, which will expose the shower valve. After that, remove the old washer and replace it with a new one. Reassemble the parts, and turn on the water supply to check for any leaks.
Applying lubrication
A lack of lubrication can cause the shower diverter gate to malfunction and make it difficult to switch between the tub and shower modes. To avoid this, apply lubrication to the gate and its components. Silicone-based lubricants are recommended as they do not harm the internal elements.
Checking for leaks
Regularly inspecting your shower diverter gate for any leaks is critical. Leaks not only waste water but can also damage your bathroom ceiling and walls. Check the gate for any signs of dripping water after having a shower. If you find water marks on your bathroom walls or ceiling, there might be an internal leak that needs professional attention.
Replacing worn-out parts
If you notice wear and tear on any part of the shower diverter gate, it’s essential to replace it immediately. Delaying repairs can cause more severe problems in the future, leading to further repair costs. Replacing damaged parts such as the handle, cartridge, and washer can prevent the shower diverter gate from becoming faulty.
Protecting against lime scale buildup
Shower diverter gate can become contaminated with lime scale over time, making it challenging to operate or producing an unpleasant odour. To protect against lime scale formation, use a descaling agent on the gate regularly. Vinegar and baking soda are natural products that can remove lime scale effectively.
Regular cleaning
Regular cleaning is essential to keep your shower diverter gate in good working order. Clean the gate and its components using a mild soapy solution and a soft-bristle brush, then pat dry with a towel. Avoid using harsh chemicals or abrasive materials, which can damage the gate’s surface.
Proper maintenance is required to ensure your shower diverter gate functions well, save water, eliminate leaks, and prevent further repair costs. By following the above tips, you can maintain your shower diverter gate in excellent condition for an extended period.
When to Call a Professional Plumber for Assistance with the Shower Diverter Gate
If your shower diverter gate is not working correctly, it can be a very frustrating experience. When you turn on the shower, and instead of water coming out of the showerhead, it comes out of the bathtub’s faucet, or both the showerhead and the faucet, it is a clear sign that there is something wrong. A shower diverter gate controls the flow of water between a bathtub faucet and a showerhead. It directs water to either the faucet or the showerhead, depending on where you want to wash. A faulty shower diverter gate means water will flow out of both the faucet and the showerhead. Here are a few signs that it is time to call a professional plumber for assistance:
1. When Water Flow is Low
If you notice low water flow, it can be an indicator of a damaged shower diverter gate. The diverter gate can get clogged by mineral buildup or rust and block water flow to the showerhead. You can try cleaning the showerhead, but if that does not work, it is time to call in a professional plumber.
2. When You Hear Strange Noises
If you hear strange noises coming from the shower or the walls when you turn on the shower, it could be a sign of a damaged diverter gate. Strange noises such as banging or ticking sounds can be indications of internal damage to the shower valve. It is best to call a professional plumber to diagnose and fix the problem professionally.
3. When the Shower Diverter is Stuck
If the shower diverter gate is stuck and you cannot get it to turn to the showerhead position, it could be because of a damaged or broken valve. Shower valves can become damaged over time and need to be replaced. It is essential to have a professional plumber diagnose and repair the issue thoroughly because plumbing systems can be complicated.
4. Water Dripping from the Showerhead Even When Turned Off
If your showerhead is dripping water even when it is turned off, it can be an indication of a damaged shower diverter gate. A damaged diverter gate can cause water to leak from the showerhead even when the valve is closed because water is not directed correctly. This situation is an emergency, and a professional plumber must be called immediately to avoid water wastage and to prevent further damage to the shower.
5. You Don’t Have Any Plumbing Experience
If you have little or no plumbing experience, calling in a professional plumber to fix your shower diverter gate is your best course of action. Attempting to fix the problem on your own can cause more damage, costing you more money to fix. A plumber will fix the problem promptly, professionally, and accurately, ensuring that the issue does not recur in the future.
In conclusion, if you notice any of the signs mentioned above with your shower diverter gate, it is best to call in a professional plumber for assistance. Attempting to fix the problem on your own can cause more damage, lead to water wastage, and cost you more money in the long run. Plumbing systems are complicated and require professional attention. If you are not confident in your plumbing abilities, or if the issue is severe, do not hesitate to call a professional plumber. They will fix the problem promptly, professionally, and accurately, ensuring that your shower works correctly and efficiently.