
Assess and Identify the Problem
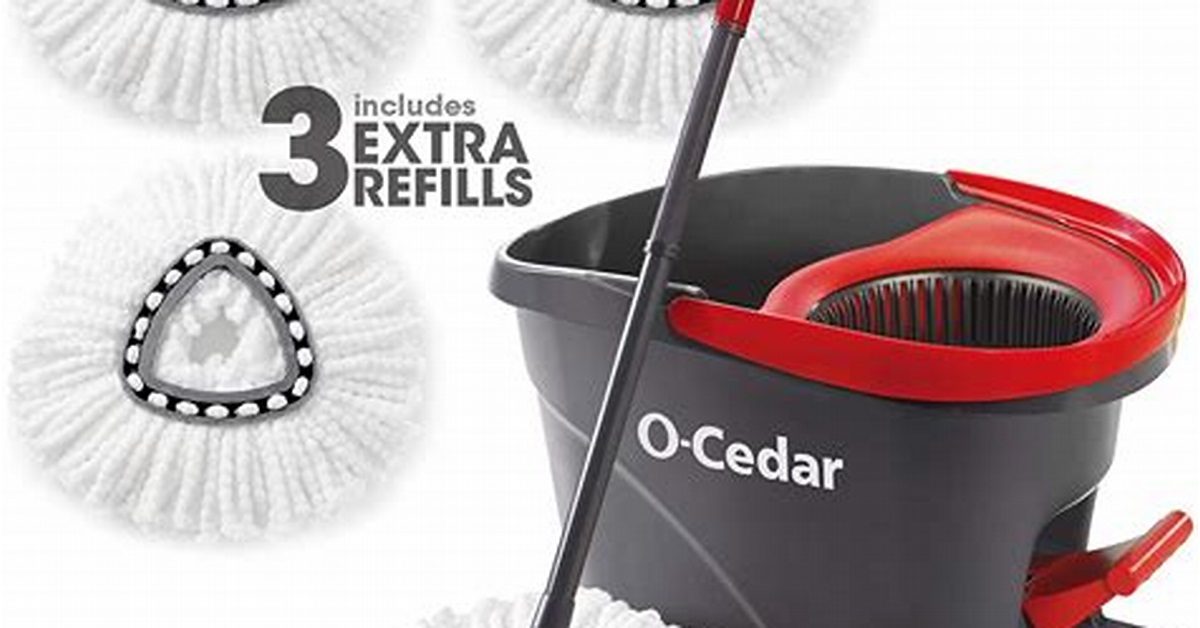
If you are a homeowner or janitorial staff, you know how important it is to have a cedar mop bucket in your cleaning arsenal. It’s a great tool for maintaining your floors to keep them free from dirt and dust while keeping them looking their best. However, a cedar mop bucket, like any other cleaning tool, can develop problems over time that can affect its performance. Some common issues with a cedar mop bucket include leaks, cracks, and broken handles. To fix these problems, you need to assess and identify the issue first to find the right solution.
The first step in assessing your cedar mop bucket is to inspect it carefully. The most common problem with cedar mop buckets is that they develop leaks. You can easily identify a leak in your mop bucket by filling it with water, leaving it overnight, and checking it the next day. If there is water on the floor surrounding the bucket, then you probably have a leak. Another problem that you might encounter is a crack in the bucket’s body. Inspect the bucket closely, and if you see any cracks in the wood, it may be worth discontinuing use and replacing the bucket before it becomes dangerous to use.
Next, you should check the handle of the cedar mop bucket. Handles can loosen over time or break altogether. If you notice that the handle is loose, attempt to retighten the screws. If the handle has broken, then it is best to replace it with a new one. You can find replacement handles either online or at your local hardware store.
Another issue that you might find with your cedar mop bucket is that the metal hardware can become corroded. This is especially the case if you store your bucket in a damp or wet area. Corrosion can cause the hardware to break, and cleaning the metal can be difficult. In this case, it is best to replace the hardware entirely.
Finally, you might want to inspect the mop head for any signs of wear and tear. The mop head can start to disintegrate over time and can leave small particles on the floor, making your cleaning process less effective. An easy solution to this problem is to replace the mop head.
In conclusion, a cedar mop bucket can be a useful tool for keeping your floors spotless. However, over time, cedar mop buckets can develop issues such as leaks, cracks, or broken handles. You can easily fix these problems by assessing and identifying the issue, and then finding the appropriate solution. Once you fix these problems, you can look forward to a long-lasting and effective cleaning tool.
Gather Necessary Tools and Materials
Before you start fixing your cedar mop bucket, you need to make sure you have all the necessary tools and materials. Here are the items you will need:
- Screwdriver
- Hammer
- Metal rods or wood dowels
- Clamp
- Glue (preferably waterproof wood glue)
- Sandpaper
- Waterproof sealant or varnish
- A new mop head (optional)
The screwdriver and hammer will be used to take apart any loose or broken pieces of the mop bucket. The metal rods or wood dowels will be inserted into any holes where the wood has split or broken, providing support and stability. The clamp will be used to compress the broken pieces together while the glue dries.
When selecting a glue for your cedar mop bucket, it’s important to choose a waterproof wood glue. This will ensure that the glue can withstand the moisture and water that the mop bucket will be exposed to. Sandpaper will be used to smooth any rough edges or surfaces after the repairs have been made.
Lastly, you will need a waterproof sealant or varnish to protect the cedar from water damage and rot. A new mop head is also optional, but it may be a good idea to replace it if the old one is worn or damaged.
Replace Damaged Parts
If your cedar mop bucket has some damaged parts, it can be pretty frustrating to use. Broken handle, missing metal bands, cracked staves are some of the common issues that can occur in a cedar mop bucket. However, replacing the damaged parts can be an economical way to give your bucket a new life. Here’s how to replace the damaged parts of your cedar mop bucket.
Contents
1. Broken Handle
The handle of the cedar mop bucket is an essential part that supports the weight of the bucket when you lift it. Over time, the handle can break due to constant use, leaving the bucket unstable and difficult to use. To replace the broken handle, first, remove the old handle by unscrewing the screws or nails that hold it in place. Measure the size of the old handle to ensure that the new handle you buy fits perfectly. Finally, place the new handle in the same position as the old handle and secure it with screws or nails.
2. Missing Metal Bands
The metal bands around the cedar mop bucket add a decorative touch to the bucket and provide additional support. If you have missing metal bands on your cedar mop bucket, you can replace them easily. First, measure the size of the missing metal bands to ensure that you buy the right size replacements. Next, slide the new metal bands into position, one by one, around the cedar staves and hammer them gently into place. Ensure that the metal bands are evenly spaced and securely attached.
3. Cracked Staves
Cracked staves are among the most severe damages that a cedar mop bucket can have. The staves are the vertical wooden slats that hold the bucket together. When one of them cracks, water can start leaking from the bucket, hence rendering it useless. To replace a cracked stave, you will need to remove the metal bands around the stave that needs replacement using a hammer and chisel or a screwdriver. Once the metal bands are removed, pull out the damaged stave, and replace it with a new one of the same size. Secure the new stave in place by adding the metal bands back and tapping them gently with a hammer. Ensure that you space the bands evenly around the bucket for a tidy finish.
Replacing the damaged parts of your cedar mop bucket can be a simple and economical way to bring back the bucket’s functionality. Depending on the extent of the damage, you might need to consider consulting a professional to restore the bucket. However, with the steps outlined above, you can replace the broken handle, missing metal bands, and cracked staves and continue to use your cedar mop bucket for many years to come.
Tighten Loose Components
If you have owned a cedar mop bucket for a while, you may have noticed that some of the components become loose over time. This can include the handle, staves, or hoop. Luckily, tightening these components is a relatively quick and easy fix that can be done with just a few tools.
It is important to make sure that you tighten all loose components before continuing to use your cedar mop bucket. A loose handle or stave can cause the bucket to leak or even break, which can be dangerous. Additionally, tightening loose components will ensure that your mop bucket continues to function properly and will last for many more years to come.
Here are the steps to tighten loose components on your cedar mop bucket:
Step 1: Identify Loose Components
The first step is to identify which components of your cedar mop bucket are loose. The most common components that become loose are the handle, staves, and hoop. To check for loose components, give your mop bucket a good shake and listen for any rattling or movement. If you notice any loose components, you can move on to the next step.
Step 2: Tighten Handle
If the handle is loose, you will need to tighten the screws or bolts that hold it in place. To do this, you will need a screwdriver or a wrench, depending on the type of screws or bolts used. Simply locate the screws or bolts on the inside of the mop bucket and tighten them until the handle is secure.
Step 3: Tighten Staves
If the staves are loose, you will need to use a wooden shim to tighten them. A wooden shim is a thin piece of wood that you can insert between the stave and the hoop to create a tighter fit. To use a wooden shim, simply insert it between the stave and the hoop and tap it gently with a mallet until the stave is secured in place.
Step 4: Tighten Hoop
If the hoop is loose, you will need to remove it and tighten it using a hoop driver. A hoop driver is a special tool that is designed to tighten metal hoops on wooden buckets. To use a hoop driver, simply position the hoop in the tool and turn the handle to tighten it. Once the hoop is tight, you can replace it on the mop bucket and ensure that it is secure.
Overall, tightening loose components on your cedar mop bucket is a relatively simple process that can be done with just a few tools. By taking the time to tighten any loose components, you can ensure that your mop bucket continues to function properly and lasts for many more uses. If you encounter any difficulties when tightening your components, do not hesitate to seek help from a professional carpenter or woodworker.
Perform a Test Run to Ensure Functionality
After making the repairs to your cedar mop bucket, it is vital to perform a test run to ensure its functionality. The purpose of this test run is to give you an opportunity to observe the effectiveness of your repairs and to fix any other issues you may have missed during the repair.
First, fill your cedar mop bucket with water, preferably warm, to the level you will typically use it. Ensure that the mop you would usually use is clean and dry. Next, dip the mop into the water and wring it out. Start cleaning your floors, paying close attention to how the cedar mop bucket’s parts work together. Does the handle feel secure in your hand? Is the mop wringer effective at removing the excess water from your mop? Does the bucket leak or hold water reliably?
As you use the mop bucket, also pay attention to the surfaces you clean. Do you notice any water leaking from the mop or bucket? How clean are the surfaces you are cleaning – are they as clean as usual? Take note of all these details since they can help you identify any potential problems with your cedar mop bucket.
In case you identify any issues, pause your cleaning immediately, and examine the bucket, mop, or the entire setup. Identify the source of the problem and fix it as soon as possible. Alternatively, you can choose to mark the area and continue cleaning to evaluate the severity and frequency of the problem. If the issue persists, re-examine the mop bucket to make further repairs.
If everything looks good after the run, you have successfully monitored your cedar mop bucket’s functionality, and you can resume your cleaning routine comfortably. However, it is essential to test your mop bucket frequently to avoid being caught off guard with any issues.
Finally, once you have finished using the mop bucket, empty it and rinse it clean. Leave it to dry naturally before storing it in a dry place. This prevents mold growth and unpleasant odors, ensuring your cedar mop bucket remains functional and efficient in the long run.
In conclusion, fixing a cedar mop bucket is a straightforward process that requires a bit of skill and patience. However, once you have mastered the art, you will realize that it is a useful skill to have. Remember, maintaining your cedar mop bucket regularly is vital to ensure its longevity and keep it reliable and effective for future cleaning tasks.