

Identifying the Problem with Your Fishing Rod
Are you experiencing problems with your fishing rod? If you love to fish, then you know how important it is to have a good quality fishing rod. Your fishing rod is like your best friend that you trust to help you catch fish every time you set out on your fishing trip. However, sometimes your fishing rod may start to develop problems, and you won’t be able to catch as many fish as you usually do. In this article, we’ll guide you through identifying the problem with your fishing rod and how you can fix it so that you can have more successful fishing trips in the future.
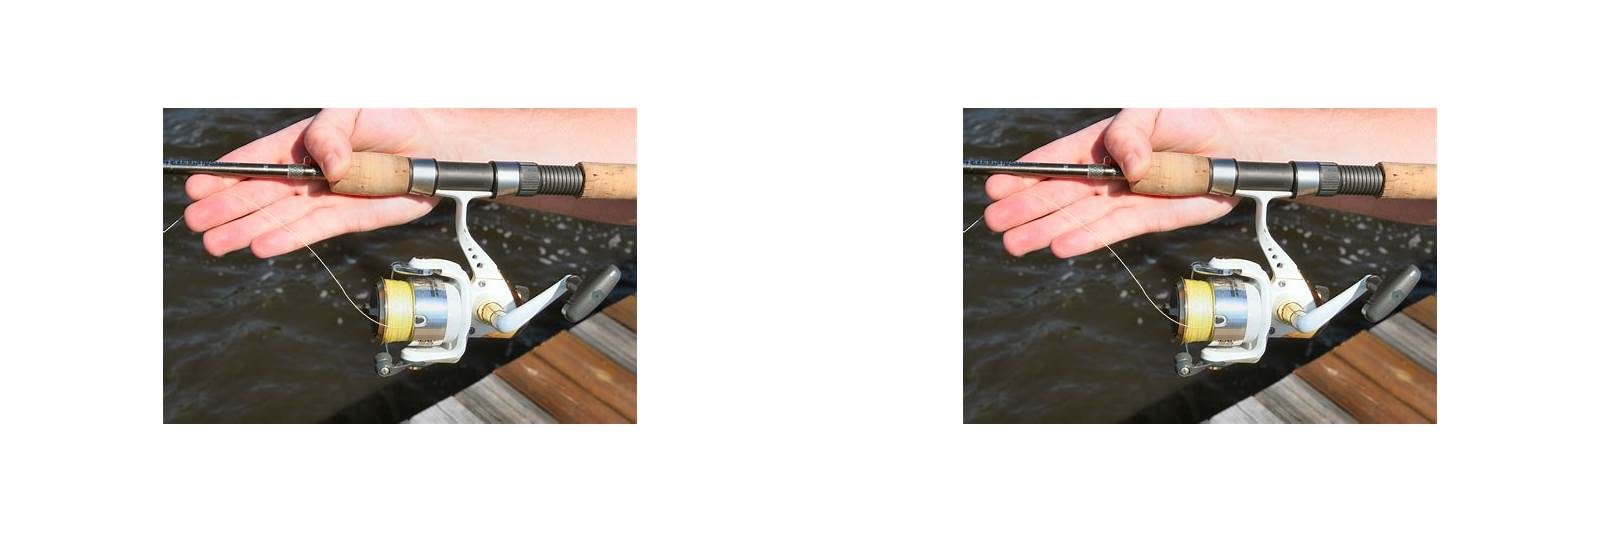
The first step in identifying the problem with your fishing rod is to inspect it thoroughly. Before you start your fishing trip, take some time to examine your rod carefully. Check the entire length of the rod, including the guides, the reel seat, and the handle. Look for any signs of damage, such as cracks, kinks, or breaks. If you find any damage, this could be causing your rod to perform poorly, and you’ll need to get it fixed before your next fishing trip.
Next, check the guides on your fishing rod. The guides are the small loops on the rod that hold the fishing line in place. If the guides are misaligned, bent, or damaged, this could affect the performance of your rod. You’ll need to replace any damaged guides as this will cause your line to snag or break, making it harder to catch fish.
Another way to identify problems with your fishing rod is to check the action. The action refers to the flexibility of the rod. A fast action rod is more rigid and is better for catching large fish, while a slow action rod is more flexible and is better for catching smaller fish. If you find that your fishing rod is not performing well, try switching to a different type of rod that matches the type of fish you’re trying to catch.
Another common problem with a fishing rod is a loose reel seat. The reel seat is the part of the rod where you attach the reel. A loose reel seat can significantly impact your ability to catch fish by reducing the sensitivity of the rod. To fix a loose reel seat, you’ll need to tighten the screws that hold it in place. However, be careful not to overtighten, as this can cause the rod to crack or break.
The handle of your fishing rod can also be a source of problems. Check to see if the handle is worn or damaged. If you notice any wear or damage, replace the handle as this will improve the grip on your fishing rod and help you catch more fish.
In conclusion, identifying the problems with your fishing rod is the first step in fixing it. By carefully inspecting your rod, checking the guides, action, reel seat, and handle, you’ll be able to diagnose any problems and get back to catching fish in no time. Remember to take good care of your fishing rod, and it will reward you with many successful fishing trips in the future.
Replacing broken or damaged rod components
Fixing your fishing rod can be a daunting task, especially when it comes to replacing broken or damaged components. However, it is a necessary skill for any angler who wants to make the most out of their fishing experience. In this article, we will guide you through the process of replacing broken or damaged rod components, step by step.
Contents
Step 1: Identify the damaged or broken component
The first step in repairing your fishing rod is to identify which component needs to be replaced. Is it the tip, the guides, or the handle that is damaged? Once you have identified the problem, you can move on to the next step.
Step 2: Remove the damaged component
To remove the damaged component, you will need to unscrew it or cut it off, depending on the type of component. If you’re replacing a guide, for example, you will need to use a small hacksaw or a pair of pliers to cut off the old guide. If you’re replacing a tip, you will need to unscrew it from the rod. If you’re replacing the handle, you will need to remove the old handle by unscrewing it or cutting it off.
Step 3: Prepare the replacement component
Once you have removed the damaged component, you will need to prepare the replacement component. If you are replacing a guide, you will need to match the size and placement of the old guide to the new one. If you are replacing a tip, you will need to make sure that the replacement tip fits securely into the end of the rod. If you are replacing the handle, you will need to make sure that the new handle is the right size and shape for your rod.
Step 4: Install the replacement component
Now that you have prepared the replacement component, it is time to install it. If you’re replacing a guide, you will need to thread the new guide onto the line and secure it to the rod with thread wraps. If you’re replacing a tip, you will need to screw the replacement tip onto the end of the rod. If you’re replacing the handle, you will need to screw the new handle onto the rod.
Step 5: Test the repaired rod
After installing the replacement component, you will need to test your repaired rod to make sure it is working properly. Cast your line and reel it in to make sure the new component is functioning as it should. If everything is working well, congratulations! You have successfully repaired your fishing rod.
Remember, it is important to take care of your fishing rod and inspect it regularly to prevent damage or breakage. If you do need to replace a component, follow these steps carefully and take your time. With a little patience and some basic tools, your fishing rod will be back in action in no time.
Fixing a Bent Fishing Rod
When you’re out fishing, you may encounter a situation where your fishing rod gets bent. This can happen due to various reasons such as heavy wind, a big catch, or even just a wrong casting technique. A bent fishing rod can be frustrating, and if not handled correctly, it can lead to permanent damage to your rod. However, with a little patience and effort, you can fix a bent fishing rod easily. Here are a few steps to follow in order to fix a bent fishing rod:
Step 1: Assess the damage
Before fixing a bending fishing rod, you will need to assess the damage. Inspect the rod carefully and look for any signs of damage. Check if the bend is in the middle or on the tip of the rod. If the bend is on the tip, it usually indicates that the damage is not that severe, and the rod can be fixed quickly. However, if the bend is in the middle, it may require more effort to fix it correctly.
Step 2: Heat the area
Heating the area where the rod is bent is the most critical step in fixing a bent fishing rod. Use a heat gun to apply heat to the affected area gently. Make sure that the heat source is not too close to the rod as it can cause more damage. Apply the heat to the affected area for around 30 seconds.
Step 3: Bend the rod back
Once the rod is heated, use your hands to slowly bend the rod back to its original position. Make sure that you do not apply too much pressure or force while doing this as it can lead to more damage. Gently apply the pressure and bend the rod back to its original position. If you feel that the rod is still bent, repeat the heating and bending process until it is straightened out.
Step 4: Check the rod
Once you’ve fixed the rod, it is essential to check it thoroughly to ensure that it is in good shape. Check the rod for any signs of stress or fractures. If you notice any fractures, it is better to get the rod replaced than risk fishing with it.
Conclusion
Fixing a bent fishing rod can be done quickly with a little bit of effort and patience. The most important step is to heat the rod gently and bend it back to its original position. With some practice, you can master the process of fixing a bent fishing rod and avoid the need for professional help. If you’re not confident in fixing a bent fishing rod, it’s best to get it fixed by a professional. Remember, prevention is always better than cure, so take care of your fishing gear to ensure that it lasts for longer.
Repairing a broken fishing rod tip
Breaking the tip of the fishing rod while fishing can seem like the end of the world for many anglers. It can be an expensive problem to solve, and it can discourage you from fishing for a long time. However, there are ways of repairing your broken fishing rod tip at home or with a professional rod builder, and they are affordable. In this article, we will explain how to fix a broken fishing rod tip and give you tips on how to maintain your fishing rod.
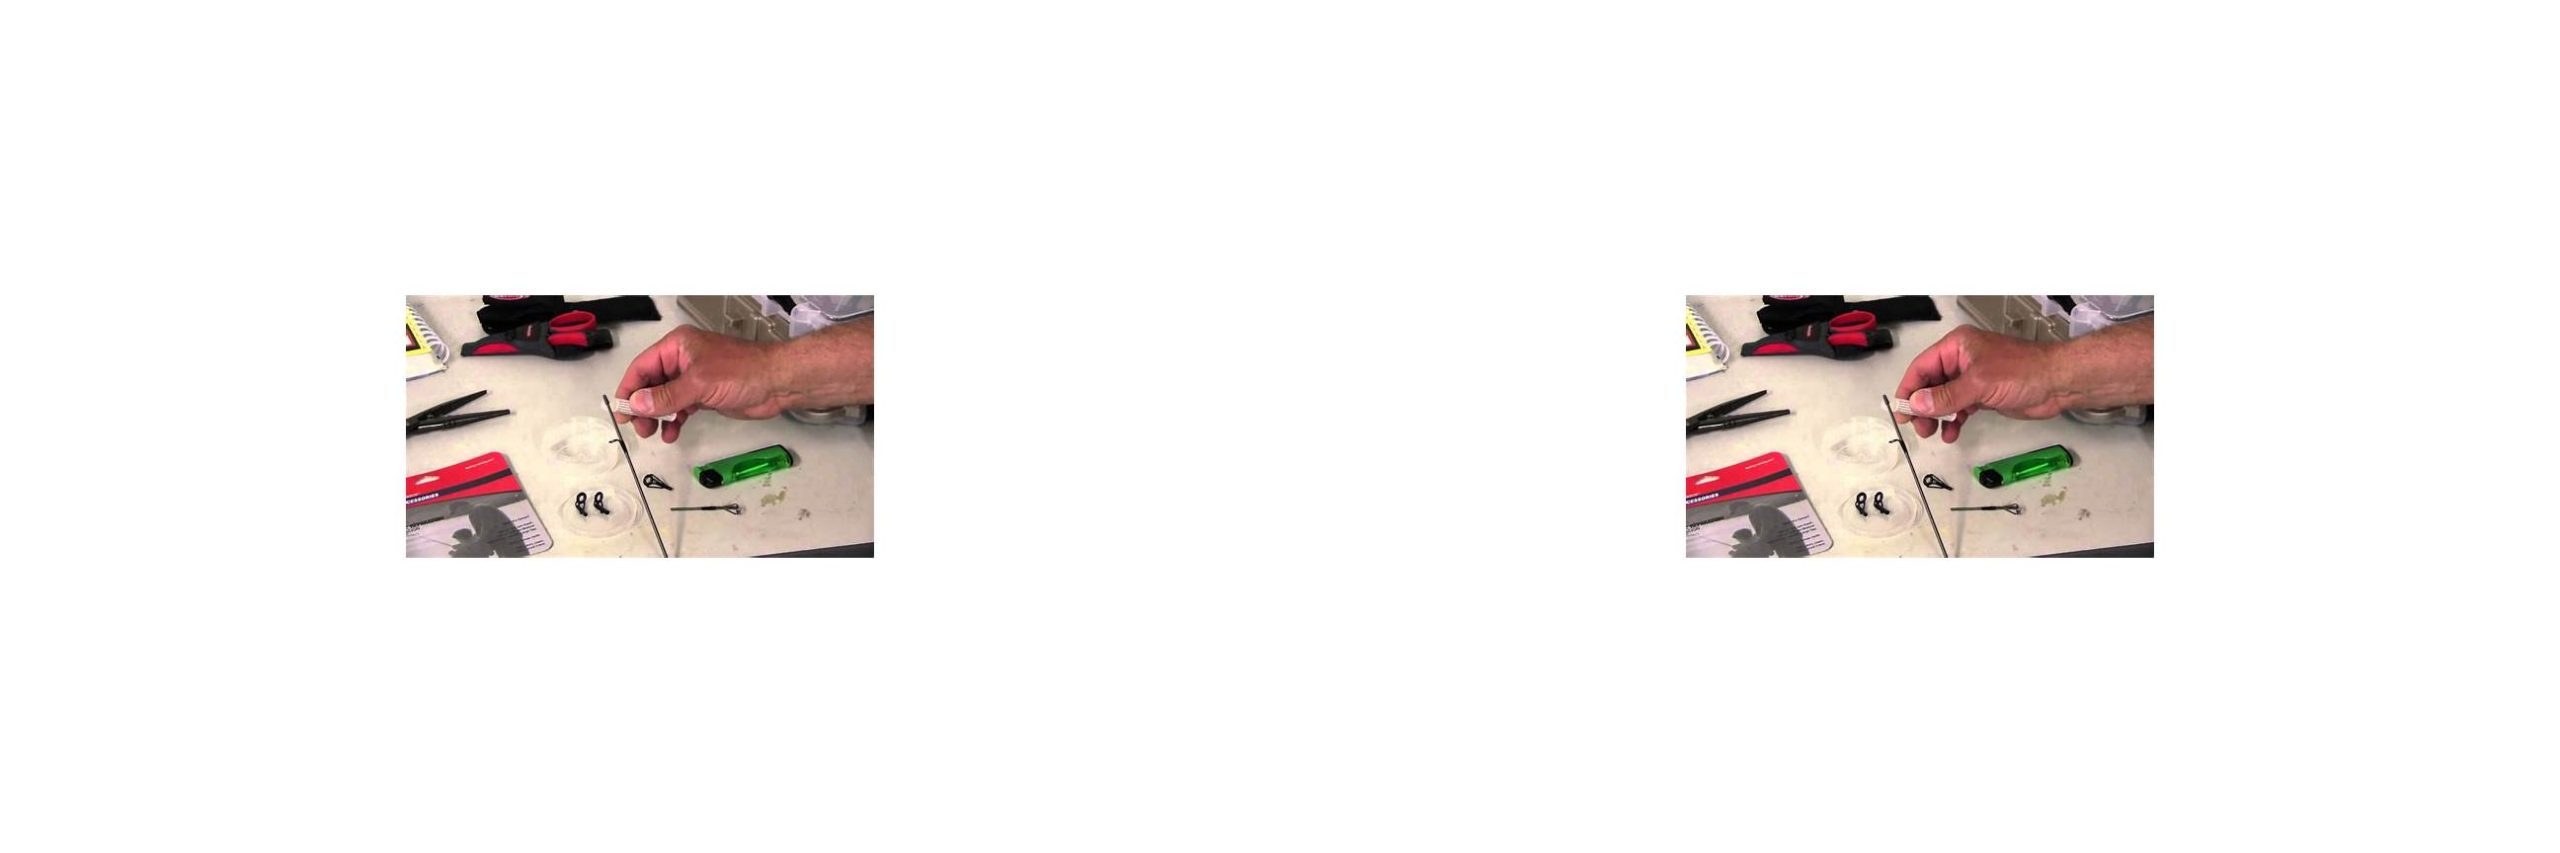
Firstly, it’s crucial to assess the damage on your fishing rod tip. Some damages are so bad that it’s better to replace the entire section. If only the tip is damaged, then you’re in luck. The first thing you need to do is to remove the old tip top from your fishing rod. Use a pair of pliers or a razor blade to remove the old wraps and finish, and then gently pull it off. If the old tip top is stuck, apply heat to the rod’s tip, and this will make it expand, making it easier to remove.
The next step is to select a new tip top that will fit your rod. The replacement tip top must be the same size as the old one; otherwise, it will not fit and will result in further damage to the rod. Most fishing tackle stores carry a variety of tip tops to choose from, and you can choose from different materials such as ceramics or metal.
After selecting a new tip top, use the rod’s diameter to select a new guide size. The guide’s size should be the same as the old one; otherwise, it will not fit correctly, and the fishing line may rub and result in further damage. Using a wrap finish thread, coat the guide feet and attach them to the rod; make sure they are evenly spaced. Ensure that the wraps are secure by using thread finish. Lastly, insert the new tip top into the rod and re-wrap it with thread and apply a finish.
It’s crucial to maintain your fishing rod to prevent such accidents from happening. Regular cleaning, drying, and proper storage will prevent your fishing rod from getting damaged. It’s essential to never store your fishing rod when it is still wet; instead, wipe it dry with a towel. Always store your fishing rods in a dry and cool place where it isn’t subject to too much moisture or sunshine. Also, ensure that you store it where it’s safe from being stepped on, knocked over, or damaged in any way.
In conclusion, breaking the tip of your fishing rod doesn’t mean that it’s entirely ruined. You can fix it at home or with a professional’s help and continue enjoying your favorite hobby. When fixing the rod tip, it’s essential to choose the right tip top and guide size, and using the right thread, wrap the new part to the rod securely. It’s also pertinent to maintain your fishing rod to prevent such accidents from happening. Clean, dry, and store it properly, and it will provide you with many years of fishing enjoyment.
Maintaining and preventing future damage to your fishing rod
It’s essential to maintain and prevent future damage to your fishing rod to ensure its longevity and optimal performance. Here are some tips to help you do just that:
1. Clean Your Rod after Every Use
After every fishing trip, clean your rod thoroughly with fresh water and mild soap. Be careful not to use any hard scrubbing materials or abrasive products as they can damage the coating on your rod. Rinse the rod thoroughly and let it air-dry before storing it away.
2. Store Your Rod in a Safe Place
Make sure to store your rod in a safe place, where it won’t be damaged by other equipment or the environment. Store it in a rod rack, a storage tube, or a rod case. Avoid leaving your rod in direct sunlight or extreme temperatures, as these conditions can cause it to deteriorate over time.
3. Check Your Guides Regularly
Inspect your rod guides before and after every use. Make sure they are not bent, loose, or missing. Guide inserts can also become damaged, so check to see if any are cracked or missing, and replace them if needed. Damaged guides can cause line breakage, so it’s important to repair or replace them as necessary.
4. Repair or Replace Damaged Parts
If your rod becomes damaged, it’s crucial to repair or replace any parts that are broken or worn. Most fishing rod manufacturers offer spare parts, or you can visit a fishing tackle shop to find what you need. Small repairs such as replacing a guide or a handle can be done at home with the right tools. However, if the damage is severe, it’s best to take your rod to a professional repair service.
5. Check Your Line Regularly
During fishing, your line can become frayed or damaged by rocks, debris, or fish. It’s essential to check your line often, especially at the point where it connects to the rod. If you notice any damage, replace the line immediately. Damaged line can also cause damage to your guides, so repairing or replacing it is vital to prevent future damage to your rod.
By following these maintenance tips, you can keep your fishing rod in top condition and prevent future damage. Take care of your gear, and it will take care of you on your fishing trips for years to come.