
Understanding the Error Message
If you’re an avid Minecraft player and you suddenly see an error message that says “Minecraft launcher failed to create profile,” you may get a little frustrated. This error can occur when you’re trying to launch Minecraft and it indicates that the game wasn’t able to create a new game profile for you. Understanding the error message is key to fixing the issue and getting back to playing your favorite game.
The error message can indicate several different issues that you may need to address. One possible reason for the error can be that the game’s system files have been corrupted or deleted. Another possibility is that the profile folder has been moved or deleted. Additionally, this error may occur if there are compatibility issues between Minecraft, your operating system, or your computer’s hardware.
Before you panic, take a deep breath and try to understand what’s causing the error message. Take a closer look at the message itself and see if it gives you any clues about what might be going wrong. Often, the error message will provide a specific code that you can use to troubleshoot the problem. Take note of this code and use it to look for help online.
If you’re still unable to determine the cause of the error, you can try a few things to fix the issue. First, try restarting your Minecraft launcher. This may seem like a simple solution, but it can actually help resolve many different types of computer errors. If that doesn’t work, try deleting your current game profile and creating a new one.
You can also try updating your Minecraft launcher and make sure that your system meets the minimum requirements for running the game. In some cases, Minecraft won’t work properly if your computer or operating system is out of date.
If all else fails, you can try reinstalling Minecraft on your device. This may seem like a drastic solution, but it can often help solve difficult errors that you’re encountering. Reinstalling will often reset your game settings and files, which can help resolve issues that you’ve been experiencing.
Overall, it’s important to understand the error message when you see it, so you can take the appropriate steps to fix the issue. Don’t panic if you see the message – take a deep breath, read the message carefully, and explore your options for resolving the issue.
Checking Internet Connectivity
If you’re encountering an issue where Minecraft Launcher is unable to create a profile, checking your internet connectivity should be the first troubleshooting step. To begin with, ensure that you can browse the internet without any problems. If your internet connection is flaky or unstable, the launcher will be unable to verify your login credentials, leading to failed profile creation.
If your internet connection is found to be stable, try disabling your firewall or anti-virus temporarily and check if it resolves the issue. While these security programs are designed to safeguard your system from malicious software, they may inadvertently block valid Minecraft traffic, leading to failed profile creation too.
Another solution you could try is to create an exception in your firewall for Minecraft. It means that you are listing Minecraft as a program that the firewall can allow through. This would enable the launcher to communicate with the Minecraft servers and complete the profile creation process successfully.
If none of these strategies let you fix the Minecraft Launcher’s failed profile creation issue, try disabling any VPNs or proxy servers that you may have enabled. While these may help you secure your internet connection or shield your real IP from monitoring, they may also obstruct the Minecraft Launcher’s ability to communicate with the Minecraft servers and validate your credentials.
Lastly, in the event of connectivity issues persisting despite resolving the above-mentioned steps, it’s worth contacting your internet service provider. They may have the solution to the connectivity problems you are experiencing.
Clearing the Minecraft Launcher Cache
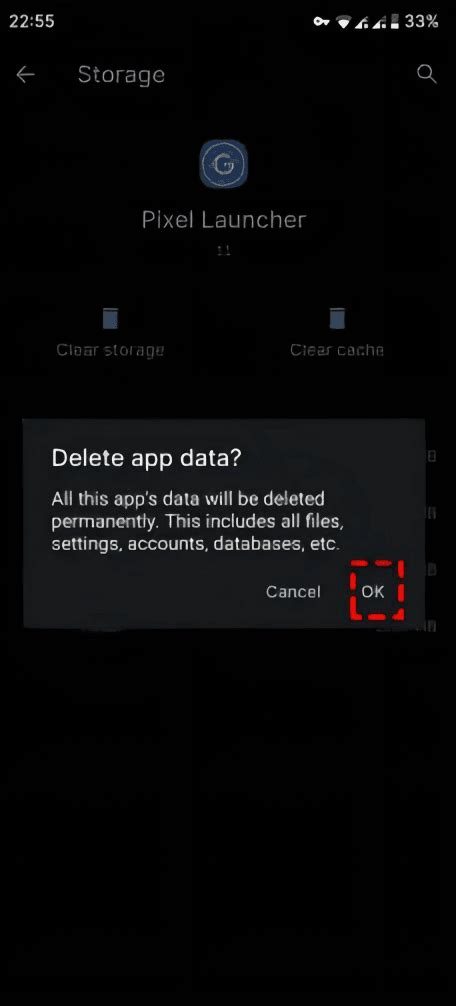
If you have encountered the “Minecraft launcher failed to create profile” error, one of the common solutions is to clear the Minecraft launcher cache. The cache is a temporary storage location where the launcher stores certain files and data to improve performance and speed up access to certain features in Minecraft. Clearing the cache can help resolve issues with the launcher, including the creation of profiles.
To clear the Minecraft launcher cache, follow the steps below:
Contents
- 1 Step 1: Close the Minecraft Launcher
- 2 Step 2: Locate the Launcher Folder on Your Computer
- 3 Step 3: Clear the Cache Folder
- 4 Step 4: Start Minecraft and Create a New Profile
- 5 Step 1: Uninstall Minecraft Launcher
- 6 Step 2: Download Minecraft Launcher
- 7 Step 3: Install Minecraft Launcher
- 8 Step 4: Launch Minecraft Launcher
- 9 Conclusion
Step 1: Close the Minecraft Launcher
Before you begin, ensure that the Minecraft launcher is closed. This is important to ensure that no conflicts or errors arise due to the launcher being open while you make changes to its files and settings.
Step 2: Locate the Launcher Folder on Your Computer
The location of the Minecraft launcher folder depends on the operating system you are using. For Windows, navigate to the following location:
C:\Users\YourUserName\AppData\Roaming\.minecraft
For Mac, open Finder and press Command+Shift+G. In the Go to Folder dialogue box, enter: ~/Library/Application Support/minecraft
For Linux, navigate to the following location: ~/.minecraft
Step 3: Clear the Cache Folder
Once you have located the Minecraft launcher folder on your computer, find the “cache” folder and delete its contents. The cache folder should be located in the root directory of the Minecraft launcher folder.
To delete the cache folder, right-click on it and select “Delete” or simply press the “Delete” key on your keyboard. Make sure not to delete any other files or folders in the launcher folder. Only delete the contents of the “cache” folder.
Step 4: Start Minecraft and Create a New Profile
After you have deleted the cache folder contents, launch Minecraft again and try creating a new profile. This should help resolve the “Minecraft launcher failed to create profile” issue. If the issue still persists, consider trying other solutions such as reinstalling the launcher or updating Java on your computer.
In conclusion, clearing the Minecraft launcher cache can help resolve issues you may encounter with the launcher, including the “Minecraft launcher failed to create profile” error. Always remember to close the launcher, locate the launcher folder, clear the cache, and finally, restart Minecraft to create a new profile. If the issue persists, consider seeking help from Minecraft support or the Minecraft community.
Reinstalling Minecraft Launcher
If your Minecraft launcher is not creating a profile, you may need to reinstall it. Before reinstalling, you must first make sure that you have saved all important information such as worlds and mods. This information should be saved in a separate folder so that it is not deleted during the reinstallation process. Once you have completed this step, follow the steps below to reinstall Minecraft Launcher.
Step 1: Uninstall Minecraft Launcher
The first step in reinstalling your Minecraft launcher is to uninstall the old launcher. To do this, follow these instructions:
- Press the Windows key on your keyboard
- Type in “Add or remove programs” and click on the option that appears
- Locate Minecraft Launcher and click on it
- Click on the Uninstall button and follow the prompts to complete the uninstallation process
Once you have uninstalled the old launcher, you can proceed to download and install the new one.
Step 2: Download Minecraft Launcher
To download Minecraft Launcher, you will need to visit the official Minecraft website. Follow these instructions:
- Open your preferred internet browser and go to minecraft.net
- Click on the “Download” button
- Click on the “Minecraft Launcher” option
- The download will begin automatically. Wait for the download to finish
Step 3: Install Minecraft Launcher
Once you have downloaded the new launcher, you can now proceed to install it. Follow these instructions:
- Open the downloaded file
- Click on “Install”
- Follow the prompts to complete the installation process
- Wait for the installation to finish
Step 4: Launch Minecraft Launcher
Once you have successfully installed the new launcher, you can now launch it and start playing your favorite Minecraft game. Follow these instructions:
- Go to your desktop and double-click on the Minecraft Launcher icon
- The launcher will start to open and check for updates
- Once the updates are complete, you will be prompted to log in to your Minecraft account
- Enter your login details and click on “Play”
- The game will now start to launch and create your profile. Wait for the game to finish launching
Once the game has launched successfully, you should be able to create your own profile and start playing your favorite Minecraft game without experiencing any issues.
Conclusion
Reinstalling Minecraft launcher is an easy and effective way to fix the “failed to create profile” error. By following the steps outlined in this guide, you can reinstall your Minecraft launcher and start playing your favorite Minecraft game without any problems. Remember to save all important information before uninstalling the old launcher and to download the new launcher only from the official Minecraft website. If you still experience any issues, you may need to contact the Minecraft support team for further assistance.
Contacting Minecraft Support for Further Assistance
If you have tried all of the steps outlined in the previous sections and the Minecraft launcher still fails to create a profile, the next step is to contact Minecraft support for further assistance. The Minecraft support team is available to help you with any problems you may have with the game, including issues with launching the game or creating a profile.
To contact Minecraft support, you can go to the official Minecraft website and click on the Support tab. From there, you will be prompted to log in to your Minecraft account. Once you log in, you will be able to choose from a variety of support options, including a knowledge base of FAQs, a community forum where you can get help from other users, and a contact form to submit a support request to the Minecraft support team.
When submitting a support request to the Minecraft support team, it is important to provide as much detail as possible about the issue you are experiencing. This will help the support team diagnose the problem and provide you with a solution as quickly as possible. Be sure to include any error messages you are seeing, steps you have already taken to try to resolve the issue, and your system specifications (such as your operating system and graphics card).
It is also important to be patient when waiting for a response from the Minecraft support team. The team receives a large volume of support requests and may take several days to respond to your query. However, rest assured that they will do their best to help you resolve the issue and get back to playing Minecraft as soon as possible.
In addition to contacting Minecraft support, you may also want to reach out to other Minecraft users or communities for help with resolving launcher or profile creation issues. There are many online forums, subreddits, and Discord servers dedicated to Minecraft where users can request help from others. These communities can be a great resource for troubleshooting and can provide you with tips and tricks for fixing common issues.
Overall, if you are experiencing issues with the Minecraft launcher failing to create a profile, there are several steps you can take to troubleshoot the problem. By ensuring that your system meets the game’s minimum requirements, updating your drivers and Java installation, and clearing your game cache, you can often resolve the issue on your own. However, if these steps do not work, do not hesitate to contact Minecraft support for further assistance. With their help, you can get back to playing Minecraft in no time!