

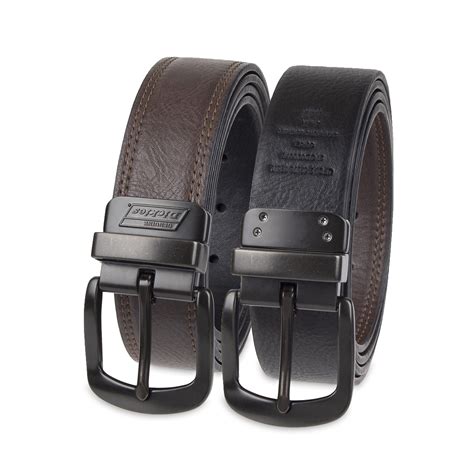
Common issues with Dickies belts
Dickies belts are known for their durability, versatility, and style. These belts are designed to withstand daily wear and tear, providing consistent performance throughout their lifetime. However, like any other product, they are not immune to wear and tear, which can lead to several common issues. In this article, we will discuss these issues, and how you can fix them to ensure your Dickies belt performs at its best.
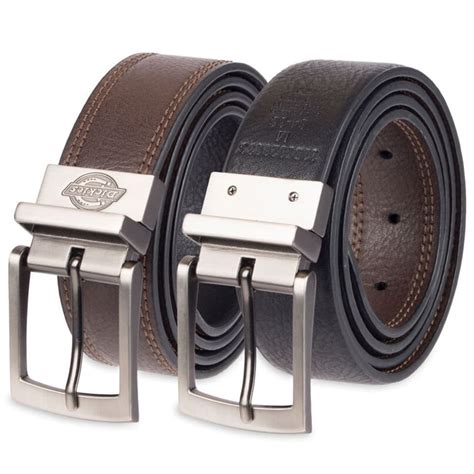
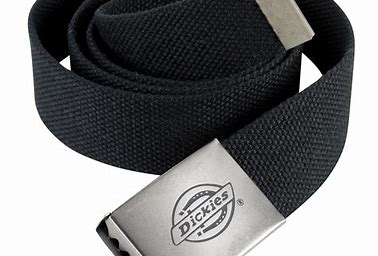
1. Loose belt buckle
One of the most common issues with Dickies belts is a loose buckle that fails to hold the strap in place. This can be very frustrating, especially if you are in a hurry or need to be formal. The good news is that fixing a loose belt buckle is a straightforward process that you can easily do at home. Here is how to do it:
Step 1: Remove the belt from your waist and lay it flat on a stable surface.
Step 2: Gently push the buckle out of the strap with your finger or a small flathead screwdriver. Be careful not to damage the leather.
Step 3: Remove the small screw that you can find at the back of the buckle using a screwdriver or pliers.
Step 4: Take a small piece of tissue or cotton and wrap it around the screw. This will increase the thickness of the screw, making it sit tighter in the hole, and reduce the vibration that causes the buckle to loosen.
Step 5: Screw the buckle back into the strap and test it to see if it holds the position. If it still feels loose, add more layers of tissue until you get the desired result. Once the buckle is securely attached to the belt, you can wear it confidently without fear of the buckle slipping or coming undone!
In conclusion, fixing a loose Dickies belt buckle is a simple process that anyone can do at home. Taking care of your belt is essential to ensure it lasts for years without any significant issues. By following the above steps, you can fix your belt in no time and always be ready to look great and feel comfortable!
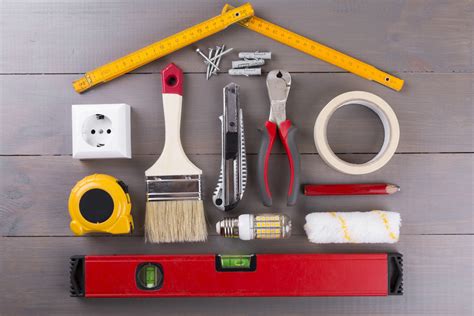
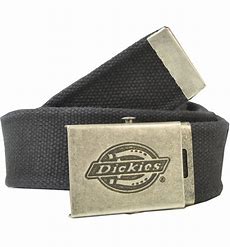
Essential tools for repairing a Dickies belt
Before you can start repairing your Dickies belt, you need to make sure that you have all the necessary tools. Some of the essential tools that you will need include:
- A sharp pair of scissors or a knife
- A needle and thread or a sewing machine
- A lighter or a matchstick
- A ruler or a measuring tape
- A hammer and a punch (optional)
- Replacement buckle or holes making kit (optional)
Let’s take a closer look at each of these tools and why they are important for repairing your Dickies belt.
Contents
- 1 A sharp pair of scissors or a knife
- 2 A needle and thread or a sewing machine
- 3 A lighter or a matchstick
- 4 A ruler or a measuring tape
- 5 A hammer and a punch (optional)
- 6 Replacement buckle or holes making kit (optional)
- 7 1. Clean it regularly
- 8 2. Protect it from moisture
- 9 3. Store it properly
- 10 4. Fix it when needed
- 11 Conclusion
A sharp pair of scissors or a knife
The first tool you will need is a sharp pair of scissors or a knife. You will use this tool to cut off any excess material from the belt and to shape the end of the belt so that it fits properly into the buckle. Make sure to use a sharp blade to avoid damaging the belt.
A needle and thread or a sewing machine
Depending on the location and size of the tear or hole in your Dickies belt, you will either need a needle and thread or a sewing machine. Use a needle and thread if the damage is small and can be easily mended. However, if the damage is large, you will need a sewing machine to fix it properly. When selecting thread, make sure to choose a color that matches the belt to ensure a seamless repair.
A lighter or a matchstick
If you are mending a small tear or hole in your Dickies belt, you will need a lighter or a matchstick to seal the edges of the material and prevent it from fraying. Gently heat the edges with the flame and then press them together using a pair of pliers or your fingers. Make sure to let the material cool before handling it.
A ruler or a measuring tape
A ruler or a measuring tape is useful if you need to measure the length of the belt or the distance between the holes. You can also use a ruler to ensure that the length of the repaired belt matches the original length.
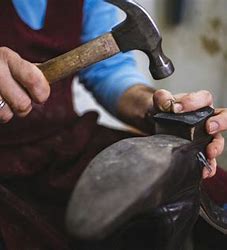
A hammer and a punch (optional)
If you need to add a new hole to your Dickies belt, you can use a hammer and a punch to create a clean, precise hole. Place the belt on a hard surface, position the punch where you want the hole, and gently tap it with a hammer. Make sure to use a punch that is the same size as the other holes in the belt.
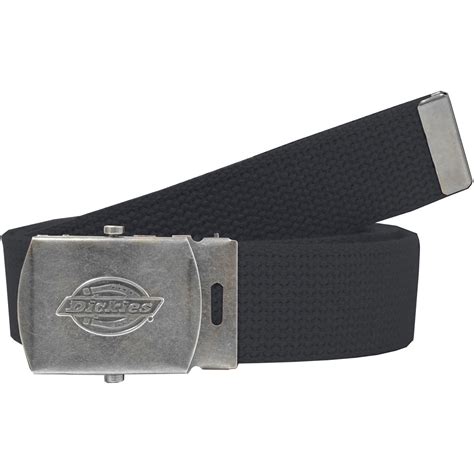
Replacement buckle or holes making kit (optional)
If you need to replace the buckle on your Dickies belt, you will need a replacement buckle that matches the original one. Alternatively, you can use a holes-making kit to add new holes to the belt without having to use a punch and hammer. A holes-making kit typically comes with a set of different sized hole punches and a cutting board.
By having the essential tools for repairing a Dickies belt, you can easily fix any damage and prolong the life of your belt. If you are unsure about how to repair your belt, take it to a professional for assistance.
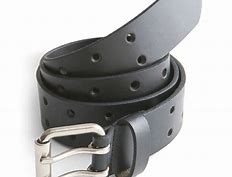
Simple steps for fixing a broken Dickies belt

A Dickies belt is a durable and reliable accessory for your pants. It is not just good looking but also serves an essential function. However, as with any other belt, it can sometimes break. When this happens, it can be frustrating, especially if you don’t know how to fix it. Here are some simple steps to fix a broken Dickies belt.
Step 1: Assess the damage

The first step in fixing any broken belt is to assess the damage. Determine the type of damage done to your Dickies belt. Look for any tears or rips in the belt or any broken metal pieces. Take note of where the damage is. This will help you determine the best way to repair the belt.
Step 2: Prepare the repair materials
Once you have assessed the damage done to your Dickies belt, it is time to prepare the necessary materials that you will need to fix it. The materials that you will need will depend on the type of damage. For example, if the belt has torn or has holes, you will need a leather repair kit. On the other hand, if the metal parts are broken, you will need pliers and other tools to replace them. Make sure that you have all the materials before starting the repair.
Step 3: How to mend a tear in your Dickies belt
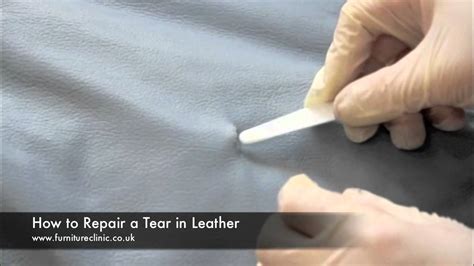
Mending a tear: If the belt has a tear, you can fix it by applying leather adhesive. Start by cleaning the tear with a damp cloth and let it dry. Apply the adhesive evenly to the tear and place a piece of leather underneath the tear. Press the edges together and hold them in place for a few minutes until the adhesive dries. It is important to ensure that the repaired area is completely dry before using the belt again.

Filling a hole: If your belt has a hole or two, you can fix it by filling it with adhesive and a new piece of leather. Clean the surrounding area of the hole and let it dry. Cut a strip of leather that is slightly wider than the hole. Apply adhesive to the hole, place the strip of leather on it, and press it down firmly. Let the adhesive dry before using the belt again.
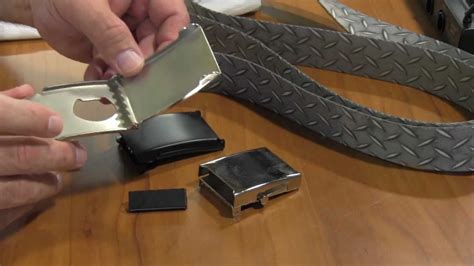
Replacing the buckle: If the buckle of your Dickies belt is broken, you will need some pliers and a new buckle. To remove the old buckle, use the pliers to remove the screws holding it in place on the belt. Make sure to hold the belt in place while removing the screws to avoid damaging the belt. Once you have removed the old buckle, replace it with the new one and attach it with the screws.
Fixing a broken Dickies belt is easy if you follow these simple steps. Remember that prevention is always better than cure when it comes to belts. Take good care of your belt, and it will last you for years to come.
Tips for maintaining the longevity of your Dickies belt

Your Dickies belt is more than just a functional item to hold up your pants – it’s a staple accessory that can instantly complete your outfit. However, just like any other piece of clothing, it requires proper care and maintenance to ensure its longevity. Here are some tips to help you maintain your Dickies belt:
1. Clean it regularly
One of the best ways to maintain your Dickies belt is to clean it regularly. How often you clean it depends on the frequency of usage and exposure to dirt, sweat, and grime. You can clean it by using a damp cloth or sponge and mild detergent to wipe the surface of the belt. Avoid using harsh chemicals and abrasive materials as they can damage the fabric of the belt.
2. Protect it from moisture
Moisture can cause irreparable damage to your Dickies belt, especially if it’s made of leather or fabric. Exposure to moisture can cause discoloration, fading, and even mold growth. To protect your belt from moisture, avoid wearing it during rainy days or in places with high humidity. If your belt gets wet, gently pat it dry with a towel and leave it in a well-ventilated area to dry completely before storing.
3. Store it properly
Proper storage of your Dickies belt can also contribute to its longevity. When not in use, hang it in a cool, dry, and well-ventilated place. Avoid storing it in direct sunlight or near a heat source as this can cause the material to fade or crack. If you need to store it for a longer period, place it in a drawstring or fabric bag to protect it from dust and moisture.
4. Fix it when needed
Over time, your Dickies belt may experience wear and tear, such as a loose prong or a frayed end. Instead of replacing it, you can fix it yourself with a few basic tools. For instance, to fix a loose prong, use pliers to gently bend it back in place. To fix a frayed end, trim the loose threads and apply a small amount of clear nail polish to prevent further fraying. However, if the damage is beyond repair or if you’re not confident in fixing it yourself, take it to a professional.
Conclusion
In conclusion, maintaining the longevity of your Dickies belt is crucial to ensure you get the most out of your investment. By following these tips, you can keep your belt looking and functioning its best for years to come.
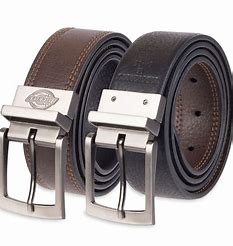
DIY Solutions for Repairing a Worn-out Dickies Belt
Buying a new belt can be expensive, so when your favorite Dickies belt starts showing signs of wear and tear, it’s time to break out the DIY skills. Luckily, fixing a Dickies belt is not only easy, but it’s also satisfying to be able to extend the lifespan of your belt. Here are five DIY solutions for repairing your worn-out Dickies belt.
1. Add Holes
One of the most common issues with belts is the need for additional holes. As we gain or lose weight, our waist sizes fluctuate, and sometimes it can be hard to find the right fit. If your Dickies belt is too tight or too loose, you can easily add holes to customize it to your waist size. All you need is a leather hole punch or a sharp pair of scissors and a little bit of elbow grease. Place the belt on a cutting mat or a flat surface and punch or cut additional holes where needed. Be sure to measure the spacing between the holes, so they are even and aligned. This DIY solution is an inexpensive and straightforward way to make your Dickies belt fit like a glove.
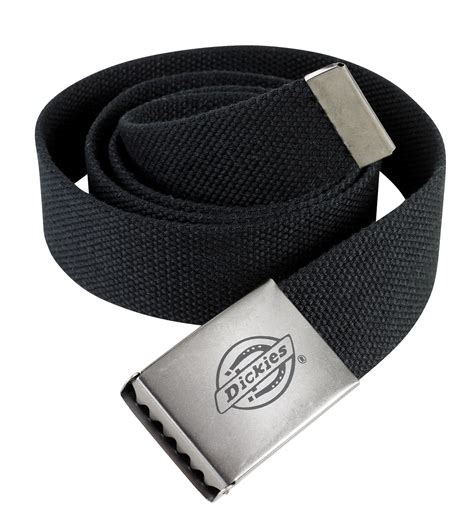
2. Replace the Buckle
When the buckle on a Dickies belt becomes damaged or broken, it can render the entire belt unusable. But fear not, replacing a buckle is a simple DIY fix. First, remove the old buckle by unscrewing the two screws on the backside of the belt. Then, insert the new buckle and secure it with the same screws. Make sure to select a buckle that fits the width of your Dickies belt. This DIY solution will extend the life of your favorite belt and save you money by avoiding the need to purchase an entirely new belt.
3. Glue Loose Threads
It’s not uncommon for threads to occasionally come loose on a belt. They can be unsightly and can cause problems with the function of your belt. To fix this problem, spread a small amount of glue on the affected area and press the loose threads down onto the belt. Make sure to use a glue that is specifically designed for leather to avoid causing any further damage. This DIY solution will save you from having to throw away an otherwise perfectly good belt due to a few loose threads.
4. Re-Stitch the Belt
Over time, the stitching on your Dickies belt can become loose or break. If left untreated, this can cause the belt to fray and eventually become unusable. That’s why it’s crucial to re-stitch any loose or broken threads. First, remove the existing thread using a seam ripper or small scissors. Then, cut a length of thread that is double the length of the area to be sewn. Fold the thread in half and insert one end through the needle, then thread it through the other end. Tie a knot at the end of the thread and re-stitch the area using a basic running stitch until you have reached the other side. Tie a knot and trim the excess thread. This DIY solution can add years of life to your belt.
5. Dye the Belt

If your Dickies belt is looking a bit dull or faded, consider dyeing it a different color. Not only will this give your belt a fresh start, but it can also change the entire look of your outfit. Before you begin, make sure to clean the belt thoroughly with a damp cloth to remove any dirt or oils. Then, apply a leather dye specifically designed for this purpose. Follow the manufacturer’s instructions on how to apply and dry the leather dye. This DIY solution will give your Dickies belt a brand new look.