
Understanding the Problem Areas in Bad Face Framing Layers
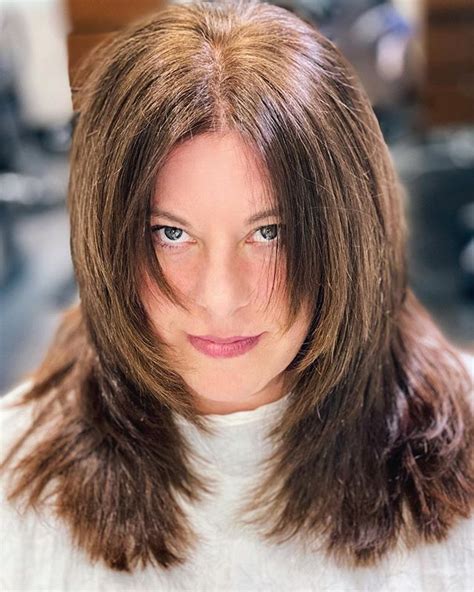
When it comes to hairstyling, a lot of people like to experiment with layered cuts. Layers can add depth, dimension, and movement to your locks, which is especially important for those with long hair. However, while layering is a popular technique, it’s not always executed correctly. This is especially true when it comes to face-framing layers. In some cases, these layers can go wrong, which can make your hair look dull, lifeless, and unflattering.
Bad face framing layers can make your hair look shorter than it is, and can even make your face appear wider or narrower than it is. Plus, they can be difficult to style, which makes them frustrating to deal with on a daily basis. But what makes face framing layers go wrong? Below are some common problem areas:
1. Incorrect Placement: The placement of layers is crucial to the overall look of your cut. If your layers are placed in the wrong areas (like the cheeks or jawline), it can have an unflattering effect on your face shape. It’s important to understand which areas of your face to emphasize or de-emphasize with layers. For example, if you have a round face, your layers should be placed in a way that elongates your face. On the other hand, if you have a square face, your layers should be placed in a way that softens the angles of your jawline.
Another mistake people make is cutting the layers too short. Short layers can add texture and volume, but if they’re cut too close to your face, they can make your hair look choppy and unbalanced. It’s important to discuss your desired length and placement with your stylist to ensure you achieve the look you want and avoid any “awkward” lengths or shapes.
Lastly, using the wrong type of layering technique can also lead to bad face framing layers. One common mistake is to use a razor to cut the layers, which can result in a choppy, uneven cut. Instead, scissors should be used to create gradual layers that blend seamlessly with the rest of your hair.
In summary, bad face framing layers are a common problem that can make your hair look unflattering and difficult to style. But by understanding the problem areas (such as incorrect placement, short layers, and improper layering techniques) and working with a skilled stylist, you can easily fix this issue and achieve a stunning, layered cut.
Determining the Best Fix for Your Face Shape
If you have bad face framing layers, don’t worry – it’s not the end of the world. With a little bit of knowledge and creativity, you can find a hairstyle that best complements the shape of your face, corrects the layers, and emphasizes your best features. In this article, we’re going to explain how you can determine the best fix for your face shape.
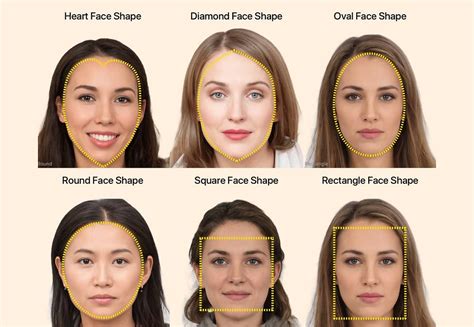
Here are some different face shapes and the fixes that would work best for each:
Contents
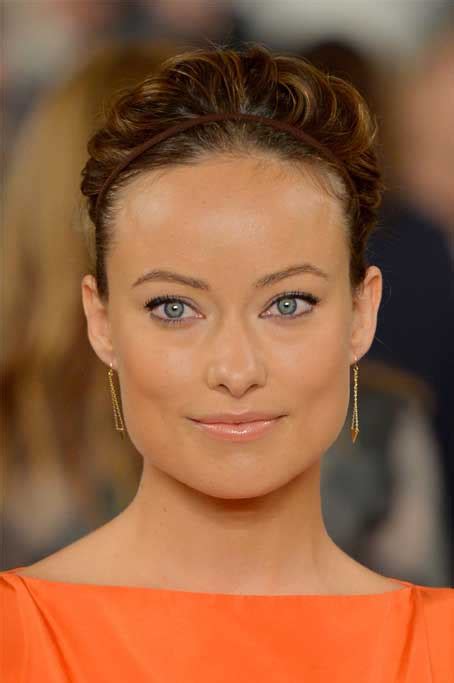
Oval Face Shape
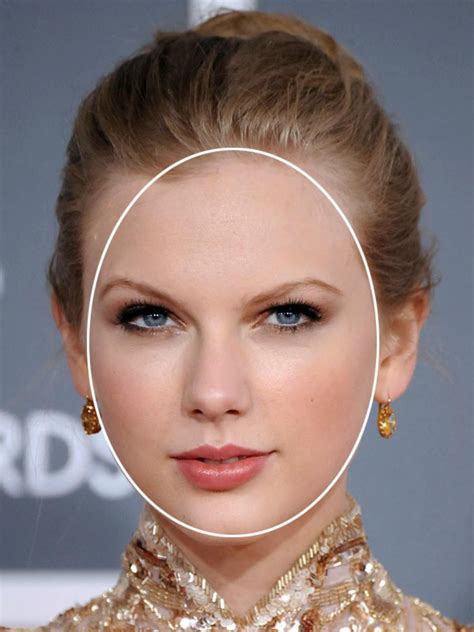
If you have an oval face shape, you can pull off almost any hairstyle since your face has balanced proportions. For bad face framing layers in this face shape, a deep side part and long layers that start at the cheekbones or chin can help frame your face perfectly. If you prefer a shorter look, an angled bob could help to define your jawline. Avoid short layers near your cheeks, as they can make your face appear wider.
Round Face Shape
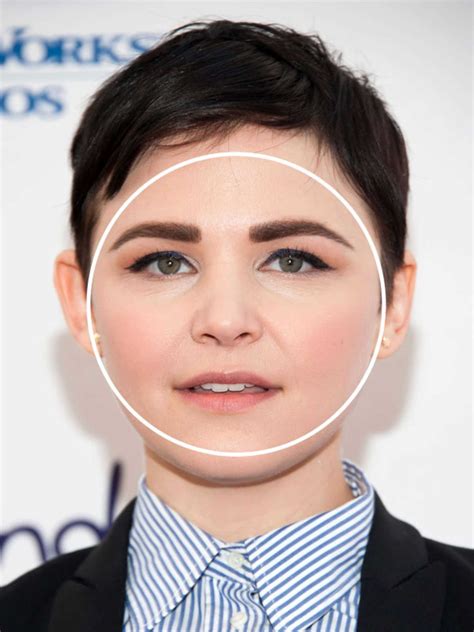
For a round face shape, a hairstyle that adds length is optimal. Long layers that fall just below the chin can help elongate the face and make it appear more oval. Side-swept bangs can also balance out a round face. Avoid blunt bangs or short, choppy layers that add width to your face.
Square Face Shape
If you have a square face shape, balance out sharp angles with soft layers. A long layered cut with cascading waves can soften harsh features. Side-swept bangs can help to soften your forehead and draw attention to your eyes. Avoid blunt cuts or bobs that end at the jawline, which can make your face appear boxy.
Heart Face Shape
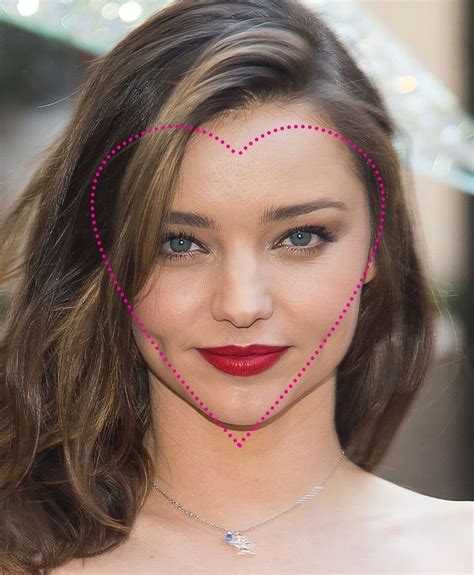
With a heart-shaped face, the goal is to balance out your chin and minimize your forehead. Side-swept bangs or a deep side part can create an illusion of balance. You can also add volume to the top of your head by backcombing with a teasing comb. Avoid center parts and blunt bangs, as these can emphasize a long forehead.
Diamond Face Shape
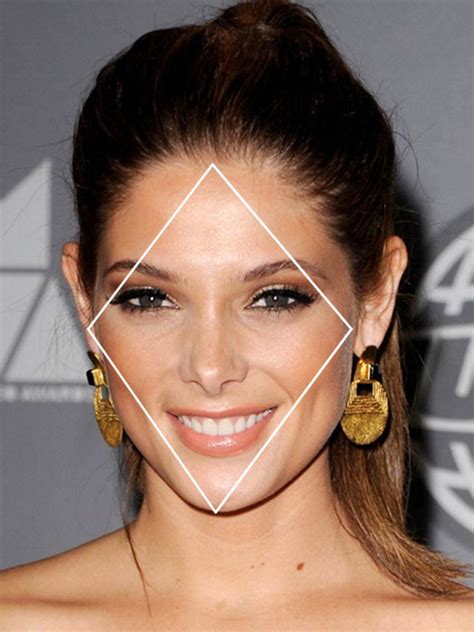
A diamond face shape is defined by high cheekbones and a narrow forehead and jawline. The best fix for bad face framing layers in this face shape is to add fullness to the jawline. A bob that is angled to fall just above or below the chin can achieve this look. You can also add layers around the jawline to soften any sharp angles. Avoid hairstyles that add height to the top of your head, like a high ponytail or updo, as this can elongate your face.
In conclusion, with the right haircut and style, you can fix bad face framing layers. By determining the best fix for your face shape, you can highlight your best features and achieve a gorgeous new look. Don’t be afraid to experiment with different styles until you find the one that works best for you.
Trimming and Blending Techniques for Seamless Layers
Are your face framing layers looking uneven or choppy? Don’t worry, it happens to the best of us. Fortunately, there are several trimming and blending techniques for achieving seamless layers.
1. Blending with Thinning Shears:
Thinning shears are a hairstylist’s go-to tool for achieving seamless layers. They work by removing weight and blending the hair seamlessly, creating a natural-looking transition between layers. Start by sectioning your hair into thin sections and slide the thinning shears through your ends. Work from the bottom layers up, blending and thinning as you go. Be gentle with the shears and avoid over-thinning your hair, as this can lead to frizziness and split ends.
2. Point Cutting:
Point cutting is a technique used to soften and blur the hairline, creating a seamless finish. Using the tips of sharp scissors, graze the ends of your hair at an angle, creating texture and movement. This method is ideal for creating face-framing layers that will blend perfectly with the rest of your hair.
3. Razor Cutting:
Razor cutting involves the use of a razor blade to create soft, wispy layers. This technique is ideal for those who want to add texture and movement to their hair. Unlike traditional scissors, razors can create a seamless blend between layers, creating a natural, feathered finish. However, razor cutting can be tricky if you are not familiar with the technique, as it requires precision and control. If you’re not comfortable using a razor, seek assistance from a professional hairstylist who is experienced in this technique.
4. Twist Cutting:
Twist cutting involves creating twists in your hair and then trimming the ends. This technique creates a gentle, feathered effect while still maintaining the length of your hair. Start by twisting sections of your hair and then snip gently at the ends. Be cautious when using this method as overuse can lead to too many layers, resulting in a choppy finish.
5. Cutting in Sections:
Cutting your hair in sections allows for greater control and precision when achieving a seamless layer. Start by parting your hair in the middle and separating it into two sections. Then, cut your hair in small sections, starting at the back and working towards the front. Be sure to blend each layer as you go, using the appropriate technique for your hair type. Once you’ve finished cutting your hair, inspect it thoroughly and trim any uneven or choppy areas with scissors or thinning shears.
Blending and trimming your hair can be quite a daunting task. However, with the right tools and techniques, achieving a seamless, natural look is within reach. Experiment with different methods and find one that works best for your hair type and personal style. With a little bit of practice, you’ll have salon-worthy face framing layers in no time!
Balancing Your Length and Volume with Layer Adjustments
If you have recently gotten your hair layered and it has not come out how you expected it to be, do not worry – you are not alone. Many people come out with disastrous looking haircuts and layers when they do not communicate their wishes to their hairstylist effectively. And though it might seem like a waiting game till your hair has grown out, there are many fixes you can do to help make you feel more beautiful and confident until your hair returns to its original length. Below, we’ve listed some tips on how to fix bad face framing layers.
1. Speak to Your Hairstylist
The first step you should take is to speak to your hairstylist about your hair concerns. Express any issues that you may have about your face framing layers or haircut and detail what you would like changed. If the stylist is able, they may be able to fix it then and there for you. If not, it still gives them an opportunity to note down any changes that need to be made in future visits.
2. Trim Your Hair Yourself
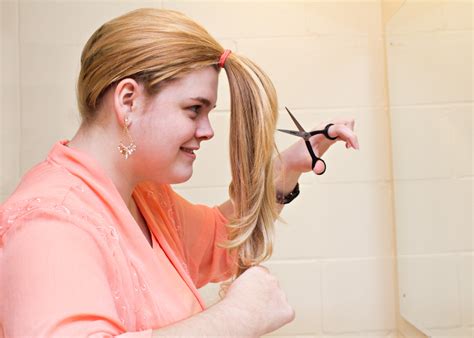
If you’d rather try to fix your layers at home, you can attempt to trim your hair yourself. Start with damp hair and separate a thin section of hair from the rest of your hair. Twist the section of hair above your ear a few times until it feels tight and then snip off the ends that stick out. Work around your head like this and make sure you’re only cutting off the dead ends so that the rest of your hair can continue growing. Just a warning, doing your own haircut can be a bit risky especially if you are inexperienced. Be mindful of this before trying this hack as you could end up making your layers worse.
3. Use a Flat Iron or Round Brush
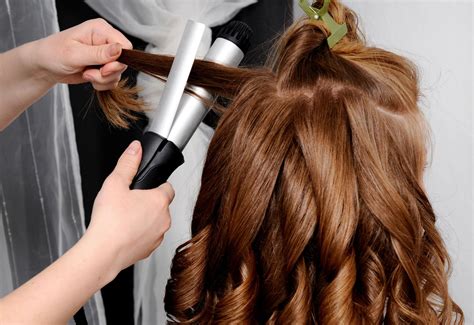
The following two tips don’t actually fix your layers, but they can help in making your hair look a lot better. You can use a flat iron or a round brush to help style your hair and hide any uneven layers. Pull your hair forward over your face with a round brush and curl your layers with the brush and a blow dryer to help give it shape. If you have a flat iron, gliding it over a strand of hair from the root to the tip will make it look sleeker and eliminate any frizz.
4. Get Extensions

If all else fails, you can get extensions. This is a more costly solution, as it requires you to fork out money for professional hair extensions that are also put in by a stylist. That being said, hair extensions have come a long way and are often available in a wide range of qualities, colors, textures and styles. If you’re usually into short hair, you can get hair extensions with shorter lengths and sport a new look. Also, extensions can add volume to your hair, making it easy to balance out any unwanted layers.
In Conclusion, fix bad face framing layers can be a bit tricky, but with a little knowledge and a hint of creativity, you can still look and feel great. As a final word, think outside the box, try something new and be confident in yourself. Think of it this way, it is just hair and it sure can grow back – embrace whatever look you have with pride.
Maintenance and Styling Tips to Avoid Future Bad Layers
Face framing layers are a great way to add dimension and movement to your hair. However, bad layers are not only frustrating, but can also ruin your entire look. One of the best ways to prevent this from happening is to take good care of your hair and maintain it regularly. Here are some maintenance and styling tips to avoid future bad layers:
1. Regular Trims
The most important thing you can do to avoid bad layers is to get regular trims. Split ends and hair breakage can cause your layers to look uneven and messy. Trim your hair every six to eight weeks to keep it healthy and prevent damage.
2. Use the Right Products
Using the right shampoo, conditioner, and styling products is essential to keep your hair healthy and prevent bad layers. Look for products that are specific to your hair type and use them regularly. Avoid using too much heat on your hair, as this can cause damage and breakage.
3. Avoid DIY Haircuts
It may be tempting to try to trim your hair at home, but this can often lead to bad layers. Leave haircuts to the professionals and visit your hairdresser regularly to maintain your layers and keep them looking their best.
4. Embrace Your Natural Texture
Embrace your natural hair texture and work with it when styling your layers. This will help you avoid bad layers caused by trying to force your hair into a certain style. Use products that enhance your natural texture and work with your hair to create a look that suits you.
5. Communicate with Your Stylist

Communication with your stylist is key to avoiding bad layers. Be clear about what you want and show them pictures if necessary. Your stylist should know the best way to cut your hair to suit your face shape and hair type. Don’t be afraid to ask questions and make suggestions – a good stylist will always be willing to listen to your concerns.
By following these maintenance and styling tips, you can avoid bad layers and keep your hair looking its best. Remember to take good care of your hair, get regular trims, and work with your natural texture to create a look that flatters your face shape and suits your personal style.