
Understanding the Broken Pillar

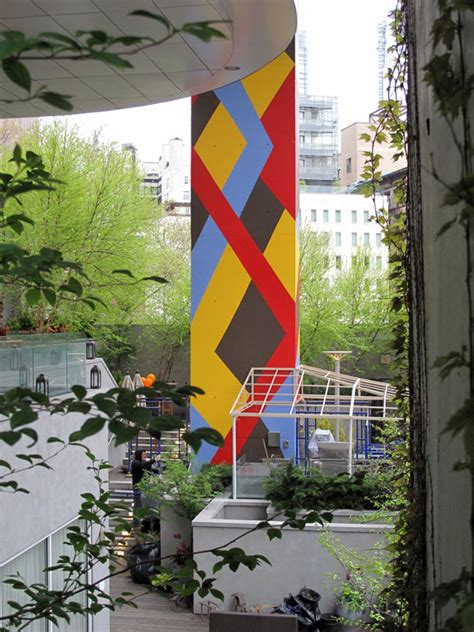
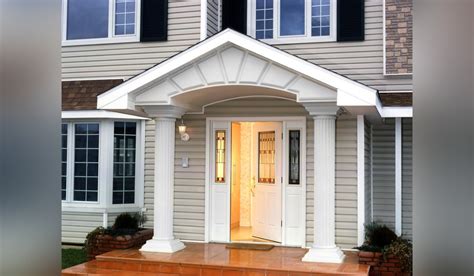
Frosted Heights is home to many beautiful structures, including a grand outdoor plaza with a majestic pillar as its centerpiece. However, due to various factors such as weather changes and physical impact, this pillar has now been damaged. Visitors to the area may wonder what caused this damage and how it can be repaired.
The broken pillar in Frosted Heights is a testament to the importance of proper maintenance and prevention measures for outdoor structures. It is likely that the damage was caused by various factors such as strong winds, heavy rain, snow, and ice, as well as possible physical impact such as a collision with an object or human interference.
In terms of weather changes, it is important to note that extreme temperatures and weather events can take a toll on outdoor structures. For instance, if the temperature drops below freezing point or a sudden snowstorm occurs, the moisture on the surface of the pillar can freeze causing the surface to crack and weaken.
Physical impact on the pillar can also be caused by a variety of factors. This may include natural wear and tear over time, accidental collisions with objects such as vehicles or even human interference such as vandalism or climbing.
Fixing the broken pillar requires a careful assessment of the extent of the damage. Experts need to inspect the pillar and determine the nature of the damage, how deep it goes, and whether it affects the strength of the structure. Once this is done, they can then decide on the best course of action to repair the damage.
In most cases, minor damage on the surface of the pillar can be repaired with materials such as epoxy or cement. This will help smooth out the surface and reinforce the structural integrity of the pillar. Similarly, if the damage is limited to only a small part of the structure, removing and replacing that section can suffice.
However, if the damage is extensive and affects the foundation of the pillar, it may be necessary to remove the entire pillar and replace it with a new one. This is a more complicated procedure that may require heavy machinery and specialized expertise. It is therefore advisable to seek professional assistance when dealing with extensive damage to outdoor structures.
In conclusion, the broken pillar in Frosted Heights is a clear example of the importance of proper maintenance and prevention measures for outdoor structures. While it may be tempting to overlook the maintenance needs of outdoor structures, doing so can lead to costly repairs and even possible safety hazards. By taking a proactive approach to the maintenance of outdoor structures, we can preserve the beauty and integrity of these structures for years to come.
Gathering the Necessary Materials
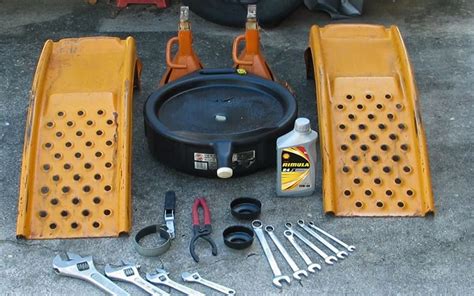
Fixing the pillar in Frosted Heights is a task that requires some basic materials to carry out the repair effectively. Before embarking on this mission, you need to collect all the necessary items to minimize back and forth trips. Some of these materials include:
- Hammer: A hammer is a crucial tool that you should have to remove and replace damaged parts effectively. It will help in removing debris that might affect the smooth operation of the pillar.
- Nails: You also need to have some nails to attach the new support rod securely to the pillar. The nails should be strong enough to withstand strong winds and harsh environmental conditions.
- Support rod: A new support rod is necessary to replace the one that has been damaged or corroded. The rod should be of the same diameter and length as the original support rod. You should measure the length of the original support rod to avoid going to the hardware store for measurements.
- Screwdriver: A screwdriver is helpful when replacing damaged screws. You need to have a flat-head and a Phillips-head screwdriver.
- Tape measure: A tape measure is a necessary tool that you need to measure the length of the support rod and the dimensions of the pillar. The measurements will help you get the materials you need and ensure that the new support rod fits correctly.
- Gloves: Wearing gloves is essential to protect your hands from sharp edges and debris while fixing the pillar. You should wear gloves that fit well and are comfortable to wear for long periods.
- Safety goggles: Safety goggles are essential, especially if you will be using a hammer or a screwdriver. They will protect your eyes from flying debris and other hazards that may cause eye injuries.
- Cutting pliers: A pair of cutting pliers is necessary to cut the support rod and nails to the required length. You should have a pair of pliers that is sharp and comfortable to use.
Gathering all the necessary materials before starting the repair work is essential to save time and ensure that the repair work is done correctly. It is also essential to wear protective gear like gloves and safety goggles to prevent personal injuries while working. With all the necessary materials and protective gear, you are ready to embark on fixing the pillar in Frosted Heights.
Preparing the Area for Repairs
Are you wondering how to fix the pillar in Frosted Heights? Fixing the pillar involves a step-by-step process that should not be taken lightly. One of the initial steps to fixing the pillar is preparing the area for repairs.
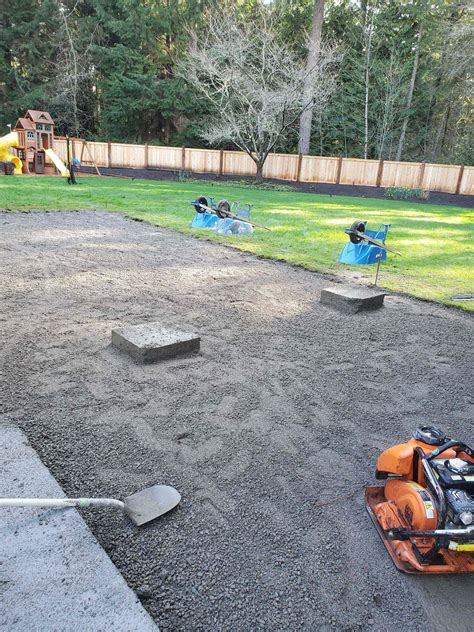
The area where the pillar stands needs to be safe and free from any obstruction. Before carrying out the repairs, clear the surroundings of the pillar to avoid accidents or interference during the repair process. Ensure you put up a caution sign to alert other people who may be passing by the area.
Since the repair process may involve the use of tools and equipment, make sure no one gets hurt in the process. If necessary, place barricades around the area to keep people at a safe distance. The barricades should also safeguard the area from any external disturbance.
After ensuring that everyone is safe, the next step is to assess the extent of the damage. You may find out that the damage is more severe than expected. Sometimes cracks or weak spots may only be visible on the surface, but they can extend to the inner parts of the pillar. By assessing the extent of the damage, you can know which materials you require to carry out repairs of the pillar.
The preparation process also includes getting the right tools and materials for the repairs. Gather the required tools like hammers, saws, drills, and nails. If you need specialized tools, hire a contractor or professional to do the repairs for you.
The materials required for the repairs heavily depends on the extent of the damage. The assessment will determine the materials suitable for fixing the pillar. These materials can comprise concrete, cement, steel rods, or wood. Get high-quality materials to ensure the repairs or replacements last longer and are not subject to regular wear and tear.
After gathering the right materials for repairs, make sure that they are stored safely and close to the repair site. It will eliminate the need for frequent trips to the store and prevent any delays in the repair process.
In conclusion, preparing the area for repairs is an essential step in fixing the pillar in Frosted Heights. Clear the working area to make it hazard-free, assess the extent of the damage, get the necessary tools and materials, and keep them near the repair site. These steps will ensure that the repairs are carried out smoothly and safely.
Step-by-Step Guide to Fixing the Pillar

Now that you’ve gathered all the tools you need to fix the pillar in Frosted Heights, it’s time to start the repair work. For those who are unfamiliar with repairing pillars, this guide will walk you through step-by-step on how to fix it. Follow the instructions below, and before you know it, the pillar will be as good as new again!
Contents
Step 1: Preparation
Before you begin the repair process, it’s essential to prepare the site and the tools you need for the operation. First, ensure that the surrounding area is clear of debris. You don’t want to trip or slip on any tools scattered on the ground. Secondly, lay down a clean tarp to keep the area clean while you work. Lastly, gather up all the tools you need for the job, including safety equipment such as gloves and goggles.
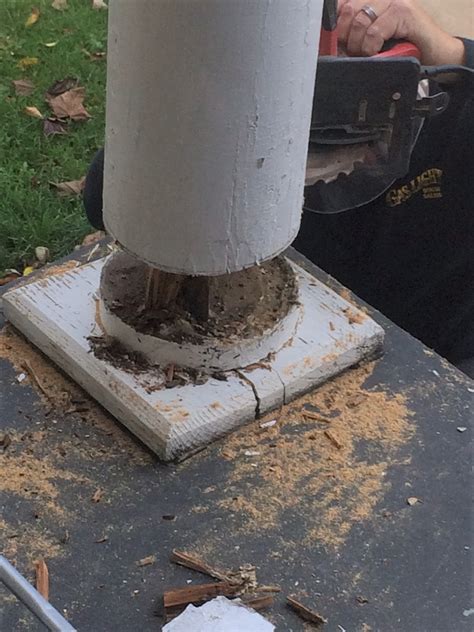
Step 2: Remove the Damaged Area
The next step is to remove the damaged area of the pillar. You may need a power saw or chisel to cut away the broken pieces. Be cautious while working on this task, so you don’t make any additional damages. If you see any signs of rust, remove the rust using a wire brush before you apply any filler or adhesive.
Step 3: Apply Filler or Adhesive
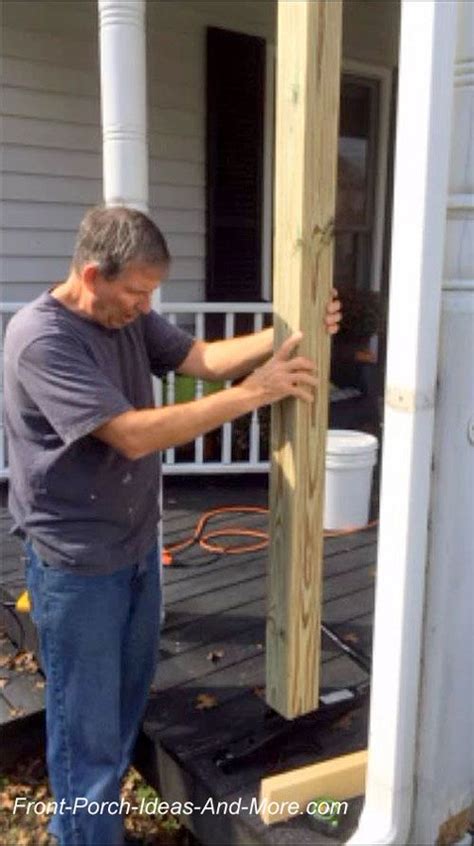
Once you’ve removed the damaged parts and cleaned up the pillar, it’s time to apply filler or adhesive. Cover the area thoroughly and ensure that the surface is leveled evenly. If you’re using a filler, make sure that it matches the color of the pillar to prevent obvious color differences after it dries. If the pillar is made of marble, choose a product specifically designed for marble to prevent complications.
Step 4: Sanding and Painting
After the adhesive or filler dries, it’s time to sand and paint the pillar. Use sandpaper to smooth out the surface of the filler or adhesive. Choose a paint color that matches the pillar to ensure that it blends in seamlessly. Apply the paint in a thin layer, let it dry, and apply another coat if necessary. If you need to mix paint to get the desired color, do it in small amounts, so you don’t waste the paint.
Step 5: Finishing Touch-Up
Now that you’ve painted the pillar, leave it to dry for a day or two. After it’s dried, inspect the pillar closely to see if there are any spots that need touch-ups. If necessary, add another thin layer of paint to the pillar. Once you’re satisfied with the appearance of the pillar, you can safely say that the repair work is complete. Congratulations—you’ve fixed the pillar in Frosted Heights!
Finishing Touches and Maintenance Tips for the Pillar
The pillar in Frosted Heights is a beautiful landmark that adds to the charm of the town. Maintaining this pillar is important to ensure that it stays in its best condition for years to come. Here are some finishing touches and maintenance tips that can help you fix the pillar in Frosted Heights:
1. Repair Any Cracks or Chips
If you notice any cracks or chips on the surface of the pillar, it is important to repair them as soon as possible. Over time, these small cracks can turn into bigger ones, compromising the structural integrity of the entire structure. You can use a specialized stone repair kit to fix these small damages. Make sure to follow the instructions carefully and let the repair compound set completely before painting or sealing.
2. Apply a Coat of Sealant
To protect the pillar from the harsh weather elements, it is important to apply a coat of sealant. This will help prevent moisture from penetrating the surface and causing any damage. You can use a clear or tinted sealant depending on your preference. Simply apply the sealant with a brush or roller in a thin, even layer. Let it dry completely before adding another coat if needed.
3. Paint or Stain the Pillar
If you want to give the pillar a fresh new look, you can paint or stain it. Choose a high-quality water-based outdoor paint or stain for best results. Before starting, make sure to clean the surface of the pillar thoroughly to remove any dirt or debris. Apply the paint or stain in thin, even coats, making sure to follow the instructions on the label. Let each coat dry completely before applying the next one.
4. Add Lighting
Adding lighting to the pillar can enhance its beauty and make it stand out even more. You can install small LED lights around the base of the pillar or add a spotlight at the top to illuminate the entire monument. Make sure to choose lights that are designed for outdoor use and are weather-resistant.
5. Regularly Clean and Maintain the Pillar
Regular maintenance is crucial to keep the pillar in Frosted Heights looking its best. Make sure to clean it regularly by gently wiping down the surface with a soft cloth and warm water. Avoid using harsh chemicals or abrasive cleaners as they can damage the surface. You should also check the pillar periodically for any signs of wear or damage. If you notice any issues, address them promptly to prevent further damage.
By following these finishing touches and maintenance tips, you can help preserve the beauty and longevity of the pillar in Frosted Heights for generations to come.