
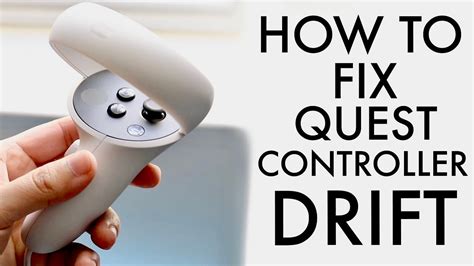
Understanding Stick Drift on Oculus Rift S
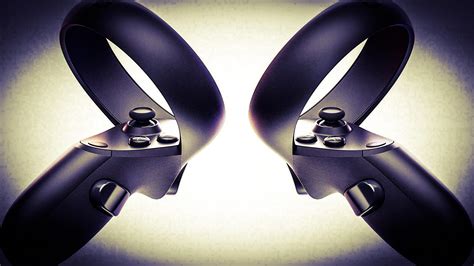
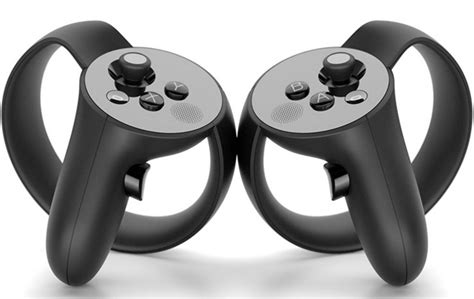
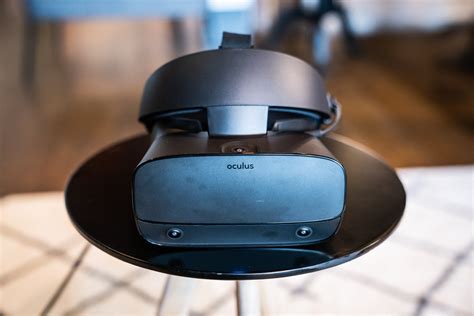
Oculus Rift S is an incredibly advanced VR headset that changes the way we experience virtual reality. The controllers are an integral part of the Oculus Rift S experience, allowing for intuitive and fun gameplay. However, the Oculus Rift S controllers have a notorious issue that gamers despise: Stick Drift. Sometimes, while moving the joystick, the game does not recognize the input or moves in a direction you did not intend to go. This problem is called Stick Drift, and it’s the most frustrating aspect of using the Oculus Rift S. If you’ve been experiencing Stick Drift on your Oculus Rift S, don’t worry! In this guide, we will show you how to fix it and get back to playing your favorite VR games without any annoying joystick issues.
Before we dive into the solutions, it’s essential to understand why Stick Drift occurs in the first place. The most common cause of Stick Drift is wear and tear. Oculus Rift S controllers are designed to be ergonomic, allowing you to move around in virtual reality with ease. However, the constant use of the joystick can lead to internal parts wearing down, creating an imbalance that causes the joystick to register movements even when left untouched. This can be incredibly frustrating, especially when attempting to play games that require precision movements.
Another reason that Stick Drift might occur is that the joystick is too sensitive. Sensitivity settings on the Oculus Rift S can play a role in Stick Drift, with some users reporting that lowering the joystick sensitivity can help reduce or eliminate this issue. Finally, software glitches and updates can also cause Stick Drift. It’s important to keep your software up to date to ensure that there are no glitches affecting the joystick in any way.
Understanding the underlying cause of Stick Drift is just the first step. In the next sections, we will cover the possible ways to fix Stick Drift on your Oculus Rift S controllers, including hardware and software solutions.
Step-by-Step Guide to Cleaning Your Oculus Rift S Controllers
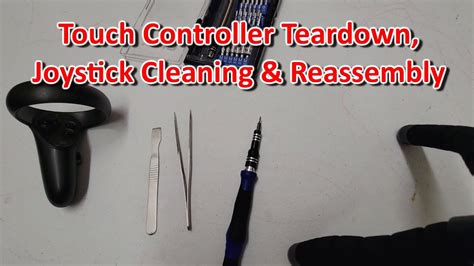
One of the most common problems faced by the Oculus Rift S users is the stick drift issue. This issue hinders the smooth functioning of the controllers as the stick does not respond as intended. One of the easiest solutions to this issue is to clean your controllers.
Here is a step-by-step guide to cleaning your Oculus Rift S controllers:
Contents
- 1 Step 1: Safety First
- 2 Step 2: Gather Your Cleaning Tools
- 3 Step 3: Use a Soft Cloth and Microfiber Towel
- 4 Step 4: Cleaning the Joystick
- 5 Step 5: General Cleaning
- 6 Step 6: Let the Controllers Dry
- 7 Step 7: Reassemble the Controllers
- 8 Step 8: Repeat if Needed
- 9 Step 1: Check your Batteries
- 10 Step 2: Hold down Buttons
- 11 Step 3: Move your Controllers
- 12 Step 4: Complete the Calibration
Step 1: Safety First
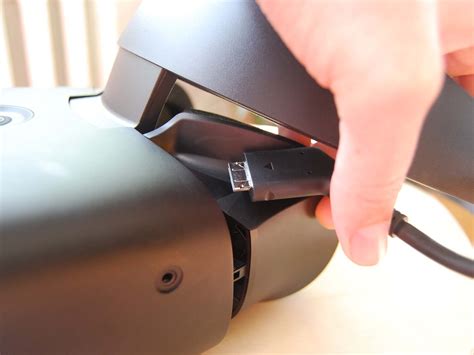
Before you start cleaning your Oculus Rift S controllers, make sure that they are not connected to your PC or VR headset. It is also essential to ensure that there is no water around your work area as the controllers are electronic devices.
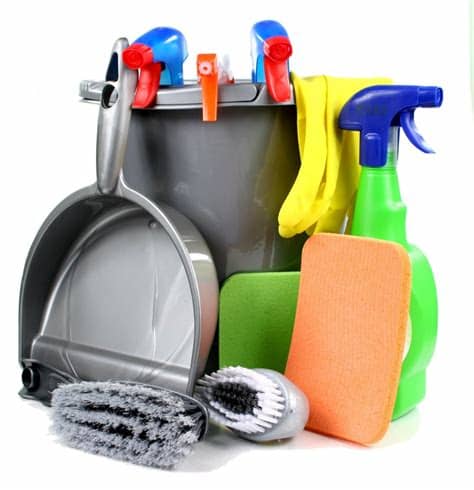
Step 2: Gather Your Cleaning Tools
To clean your Oculus Rift S controllers, you will need a soft cloth, a microfiber towel, a small brush (like a toothbrush or Q-tip), and some rubbing alcohol. You can get rubbing alcohol from any local pharmacy.
Step 3: Use a Soft Cloth and Microfiber Towel
First, use a soft cloth to wipe away any dust or dirt on the surface of the Oculus Rift S controllers. Then, use a microfiber towel to clean any remaining dirt and debris from the controller’s surface. Make sure to wipe the surface gently.
Step 4: Cleaning the Joystick
In many cases, the joystick is the main culprit behind the stick drift. To clean the joystick, you can use a small brush like a toothbrush or a Q-tip. Soak the brush with rubbing alcohol and gently clean the joystick surface and the area around it. Make sure not to press too hard on the joystick as it may damage it.
Step 5: General Cleaning
Besides cleaning the joystick, you can also use rubbing alcohol to clean other parts of the Oculus Rift S controllers. You can dip the Q-tip or the brush in the rubbing alcohol and clean the buttons and sensors on the controller to ensure that they work correctly.
Step 6: Let the Controllers Dry
After cleaning your Oculus Rift S controllers with rubbing alcohol, it is essential to let them dry completely before using them. You can leave the controllers under the fan or in a dry area for a few minutes to dry completely.
Step 7: Reassemble the Controllers
Once the Oculus Rift S controllers are dry, reassemble them. After reassembling them, you can reconnect them to your PC or VR headset and test them to ensure that the stick drift problem is resolved.
Step 8: Repeat if Needed
If you still face the stick drift issue despite cleaning your Oculus Rift S controllers, you can repeat the process above. Make sure to be more thorough with the cleaning this time. If the issue still persists even after thorough cleaning, you may need to replace your Oculus Rift S controllers.
Cleaning your Oculus Rift S controllers regularly is essential to keep them functioning correctly and to prevent stick drift issues. By following the step-by-step guide above, you can clean your controllers quickly and efficiently.
How to Calibrate Your Oculus Rift S Controllers
If you are experiencing drift or any other issues with your Oculus Rift S controllers, the first thing you should do is calibrate them. Calibration ensures that your controllers are properly aligned, and can help eliminate issues like stick drift. Here’s how to calibrate your Oculus Rift S controllers:
Step 1: Check your Batteries
The first step before calibrating your Oculus Rift S controllers is to check if they have enough battery life to continue the process. You might not be able to calibrate your controllers if they are dead or almost empty. Charge your controllers first before continuing the process.
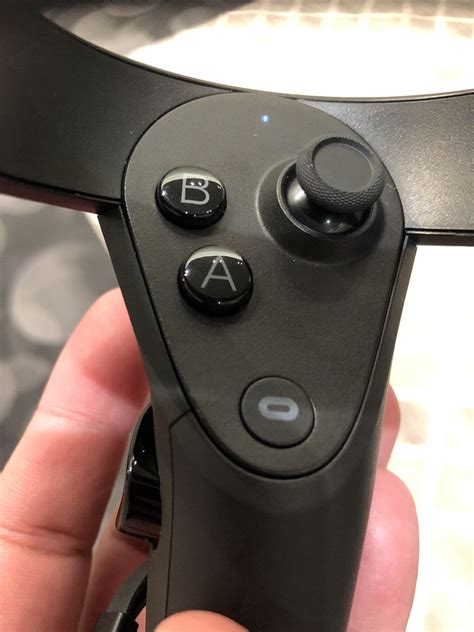
Step 2: Hold down Buttons
The next step is to hold down the three buttons (A, B, and Oculus) on your right controller for about three seconds. After that, hold down the three buttons (X, Y, and Oculus) on your left controller for about three seconds. You should feel the controllers vibrate when you do this, and the vibration will let you know that the calibration process has started.
Step 3: Move your Controllers
The next step is to move your controllers around in a figure eight pattern while holding them horizontally (like a steering wheel). Move your controllers slowly and smoothly, and be sure to move them in all directions. This helps calibrate the sensors on your controllers and fixes stick drift.
Step 4: Complete the Calibration

Finally, once you have moved your controllers in a figure eight pattern, hold them still for a few seconds. This finalizes the calibration of your Oculus Rift S controllers. You should see a confirmation message on your screen, and then you are good to go. Test out your controllers to see if the stick drift has been fixed.
Calibrating your Oculus Rift S controllers is a quick and easy process that can help eliminate stick drift and other issues. If you continue to experience problems with your controllers, you may need to replace the batteries, or the controllers themselves. Keeping your controllers charged and calibrated regularly can help prolong the life of your Oculus Rift S controllers, and enhance your overall VR experience.
Updating and Uninstalling Oculus Software to Fix Stick Drift
If you’re experiencing stick drift on your Oculus Rift S, updating or uninstalling the Oculus software may be the solution. Here are the steps to follow:
Updating the Oculus Software
Updating the Oculus software is the first thing you should try to fix stick drift. Here’s how to do it:
- First, make sure your Oculus Rift S is connected to your computer and turned on.
- Next, launch the Oculus app on your computer.
- Click on Settings in the bottom menu bar.
- Click on Beta on the left-hand menu.
- Switch the toggle next to Public Test Channel to on.
- The app will now check for updates and begin downloading the latest version of the software.
- Once the download is complete, restart your computer and Oculus Rift S headset.
If stick drift persists after updating the software, try the next step.
Uninstalling and Reinstalling the Oculus Software
If updating the software doesn’t work, try completely uninstalling and reinstalling the Oculus software. Follow these steps:
- Unplug the Oculus Rift S from your computer.
- Click on the Start button and search for Control Panel.
- Click on Programs and Features.
- Find and select Oculus from the list of programs and click on Uninstall.
- Follow the prompts to complete the uninstallation process.
- Restart your computer.
- Download the latest version of the Oculus software from the official website and follow the prompts to install it.
- Once the installation is complete, reconnect your Oculus Rift S to your computer and turn it on.
If the above steps don’t resolve stick drift, you may need to consider replacing your controller or contacting Oculus support for further troubleshooting.
Addressing Hardware Issues to Resolve Oculus Rift S Stick Drift

If you are experiencing stick drift on your Oculus Rift S controller, it could be a hardware issue. There are a few possible culprits, and here are some steps you can take to fix them.
1. Clean the Joystick
Often, stick drift occurs because there is debris or dust buildup around the joystick. To clean your joystick, use a dry, clean cloth or compressed air to blow away any dust. If you find stubborn dirt, you can use a cotton swab dipped in isopropyl alcohol to scrub the joystick gently. Avoid using water or any other type of liquid to clean your joystick, as it could cause damage to the controller.
2. Recalibrate the Controller

If cleaning your joystick does not fix the problem, your controller may need to be recalibrated. To recalibrate your controller, hold down the Oculus button and the B button until the controller vibrates. Then, follow the on-screen instructions to recalibrate your controller. Once the recalibration is complete, check if the stick drift issue has been fixed.
3. Check for Loose Connections
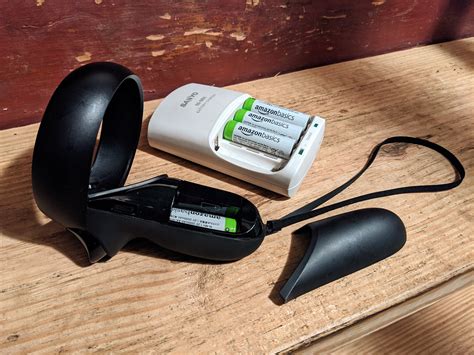
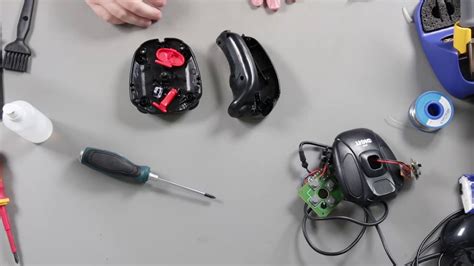
Another possible cause of stick drift is loose connections between the controller’s circuit board and its joystick. To check for loose connections, you will have to open up the controller. This is not recommended unless you are comfortable with working on electronics and have the necessary tools.
If you do decide to open up your controller, make sure you unplug the controller from your computer. Then, take off the battery cover and unscrew the five screws on the back of the controller. Carefully lift off the back cover and set it aside. You should now see the circuit board. Check the connections between the circuit board and the joystick, and make sure they are securely fastened. Reassemble your controller and test it to see if the stick drift issue has been resolved.
4. Replace the Joystick
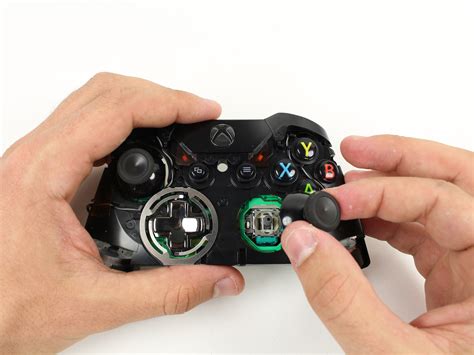
If none of the above steps work, you may need to replace the joystick. You can purchase a replacement joystick online or from a local electronics store. To replace the joystick, you will need to open up the controller and remove the old joystick carefully. Then, insert the new joystick and secure it in place. Reassemble your controller and test it to see if the stick drift issue has been fixed.
5. Contact Oculus Support
If you have tried all of the above steps and are still experiencing stick drift, it may be time to contact Oculus support. They may be able to offer additional guidance or replace your controller if it is under warranty.
Stick drift can be frustrating, but it can usually be fixed with a few simple steps. By cleaning your joystick, recalibrating your controller, checking for loose connections, replacing the joystick, or contacting Oculus support, you can resolve the issue and get back to your virtual reality experience.